 |
However, due to a bit of a manic year the opportunity never came around to just whisk it off somewhere. Several camps using the Lotus, Tipi, camper and awning, but with grandaughters popping out every five minutes, and a hectic year, it got later and later, and still no review.
I'm sure Tommy thought I had ate the tent, or donated it to Calais.
So first camp of the year, I finally got round to testing it. Tommy who had lost the will to message anymore, actually did contact me the day before by pure coincidence. 'YES!!! I am finally taking it camping, honest!!!'
Tommy advised that a small upgrade to the guy rope sliders had been made, and he would send some of the new ones through. No worries, if they arrived late, it wasn't the end of the world.

And so, feeling brave I took an overloaded Tillie (the campervan) to Somerset, complete with enough camping gear to keep a small gypsy population going for a few years.

Arrived to the sun out, and a nice large pitch. Groundsheet down, and humping the canvas onto it, I tweaked and shuffled, turned and primped, until the door faced an exact 287 degrees to the campfire.

 I laid out the bags (one for the canvas and one for the poles), pegs, and poles.
All looked good - sturdy 32mm centre pole, and standard A frame with a plastic raincap....which flew across the campsite, and I had to find another in my spares box
Very impressive galvanised pegs supplied for the guy ropes..
which got me thinking...
where are the bloody guy ropes...?!!!
Flitting between considering a 4 hour drive home, robbing a washing line, or adopting foetal position...I looked closer at the canvas I had laid out. The guy ropes were already attached.....JOY!
Its the first tent I haven't had to tie the bloody things on at the start.
 |
| The guy ropes were hiding |
The zipped on ground sheet was a standard 540gr/m2 in a sand colour. Canvas is 285g. The canvas is slightly darker, and more of a sand colour than some of the bells I have tested. It also seemed a bit denser on the grain, with what I presume is a light coating or finish on it, to assist waterproofing. No big difference, and may just be because some of the older tents have been bashed about in the elements now.

Despite Tarqs best efforts, I finished pitching the tent pretty smoothly.
All was up and ready for the final tweaks to get the walls neat and firm.
All was up and ready for the final tweaks to get the walls neat and firm.
 |
| What you swearing at, Mum? |
Now this was the moment, I thought 'I should have waited for the wooden sliders Tommy was sending'.....
The ropes on the guys are thicker than are usually supplied, but the original guys had fairly small plastic runners. And they were an absolute b*&Stard to tighten up! After red raw fingers, I started to adjust the guys by moving the whole bloody peg away from the tent. Some slid after a bit of resistance, but some were a nightmare. I'm sure they would have eased off after a couple of uses, as the rope would have worn in, but I was throwing my rattle out of the pram by now (in honesty I probably wasted about 5 minutes, but I'm not the most patient)
So here is the nice thick rope and nasty little black plastic runners...

And here are the lovely wooden sliders that greeted me when I got home, after they obviously arrived 5 minutes after I had left the house....


There are enough wire pegs to peg down the groundsheet, and galvanised ones to do the guy ropes. However, as with 99% of bell tent suppliers, none are supplied if your preference is to peg the elastics seperately from the groundsheet. Just a niggle of mine, as I always peg this way, to ensure the zip is protected from the elements, and the tent has a nice firm shape to the walls
The corners of the A Frame have the 'pockets' and clips as standard. An electric lead can be threaded through these when using hook up.
I am presuming the small eyelet is to take a peg, to lock the front lip in place if folded down when the wall is up (Not something I've ever seen/noticed before)
I am presuming the small eyelet is to take a peg, to lock the front lip in place if folded down when the wall is up (Not something I've ever seen/noticed before)

The main doorway, has an internal mesh door that can be zipped up independently. This is a fairly standard feature now, and one I would always look out for. Earlier bells didn't have this, but it gives you a 'window' in colder weather, without actually zipping everything up, and also restrains the dog (who thankfully hasn't realised he could actually get his 6 stone bulk through it pretty easily if he tried)
 |
| Chilling, with just the mesh door closed |
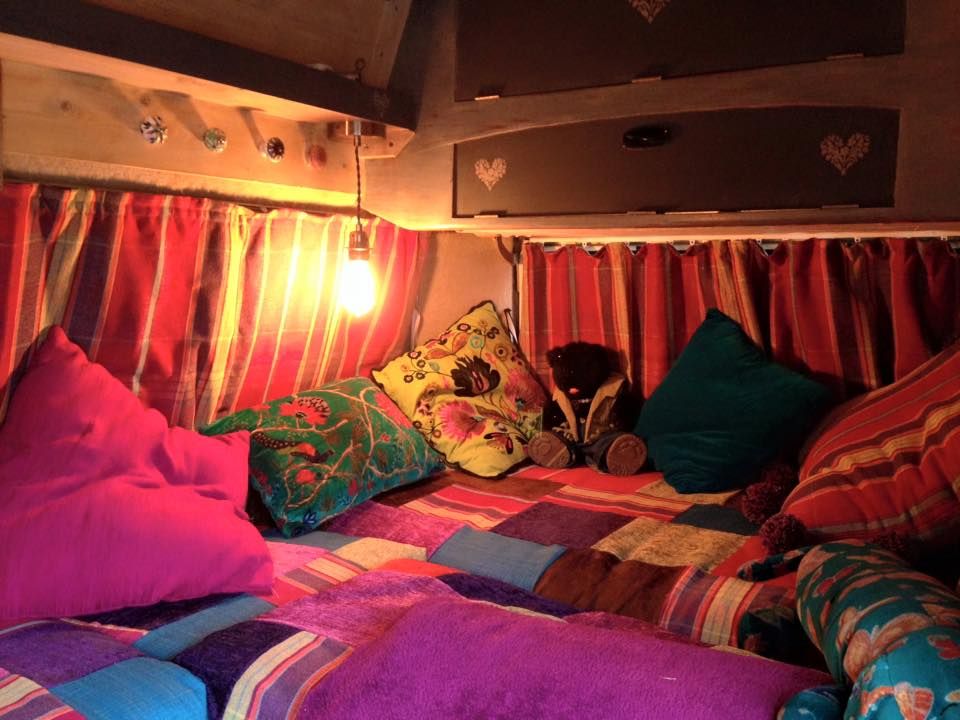
So the only job left was to glamp and pimp it, with a few cushions throws, and a bloody great sofa. We had our chill out area for the next 5 nights

Weather conditions were pretty good - it was pretty windy whilst pitching, and the tent had no issues with being pulled around a bit. There was a small shower, but in honesty, it probably wasn't enough to totally test the waterproofing and seams. I can't envisage any problems, as its a decent solid tent, and has obviously had the canvas treated.
Overall I couldn't fault it (as the little plastic runner demons have been demoted to the bin, and his nice chunky wooden cousins have taken their place)
I will put the wooden sliders on, and do a half arsed pitch on the back garden, next time torrential rain is forecast....If I do have any issues or leakage, I will update the review
Customer Service
Some of the larger bell tent sellers seemed to have lost their personal touch a bit with regards to communications and service. I have never seen a negative word about Tommy, or his tents from anyone who has purchased them, and hopefully he will remain as proactive and helpful in the future
PS: The only bit I would disagree on is:
I wouldn't ever reproof unless the tent shows signs of leakage. Once you start applying fabsil, you are putting a layer of silicon on the tent, and it has to be done regularly. Some of my bells are in their 6th/7th year and still have no leakage

Overall I couldn't fault it (as the little plastic runner demons have been demoted to the bin, and his nice chunky wooden cousins have taken their place)
I will put the wooden sliders on, and do a half arsed pitch on the back garden, next time torrential rain is forecast....If I do have any issues or leakage, I will update the review
At £475, and with free delivery, it is a competitive price option against the bigger named soulpad, and bell tent uk, which offer the same spec tent for a higher price
Link to the website is: https://campingunderthestars.com/product/5m-bell-tent/
Link to the website is: https://campingunderthestars.com/product/5m-bell-tent/
The full spec and description is on the website:-
5M Tent Dimensions
Door Height – 1.6m
Centre height – 3m
Side Walls – 0.6m
Floor Diameter – 5 metre
Weight – 31kg approx
Bag size 1mx40cmx40cm approx
Customer Service
Some of the larger bell tent sellers seemed to have lost their personal touch a bit with regards to communications and service. I have never seen a negative word about Tommy, or his tents from anyone who has purchased them, and hopefully he will remain as proactive and helpful in the future
PS: The only bit I would disagree on is:
'Even though the tent comes to you already proofed with mould and water resistance, we recommend that you treat your tent after the first years camping season to keep the canvas in optimum condition. Like anything in life, the more you look after it, the longer it should last.'
I wouldn't ever reproof unless the tent shows signs of leakage. Once you start applying fabsil, you are putting a layer of silicon on the tent, and it has to be done regularly. Some of my bells are in their 6th/7th year and still have no leakage


