Search This Blog

Showing posts with label crafty. Show all posts

Sunday, 26 July 2015

CRAFTY: Quilt with pom pommy thingy edging


So the latest project was one that had been sat around for three years.  Based on a pattern for an Amy Butler quilt, but using some cheapo fabrics as well - It worked out too expensive to use all Amy Butler.

So some Moda, Michael Miller, and tat ebay fabrics were also included.

I hate using wadding, but do like the depth of quilting, so I cheated, and used a 4.5 tog summer double duvet

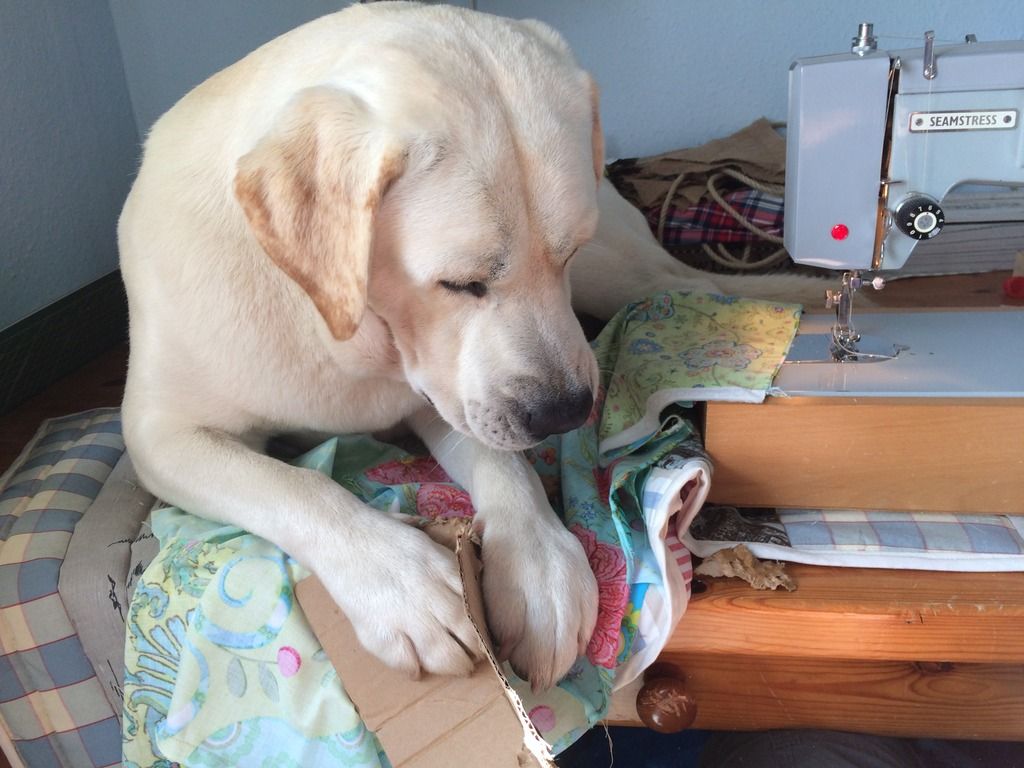
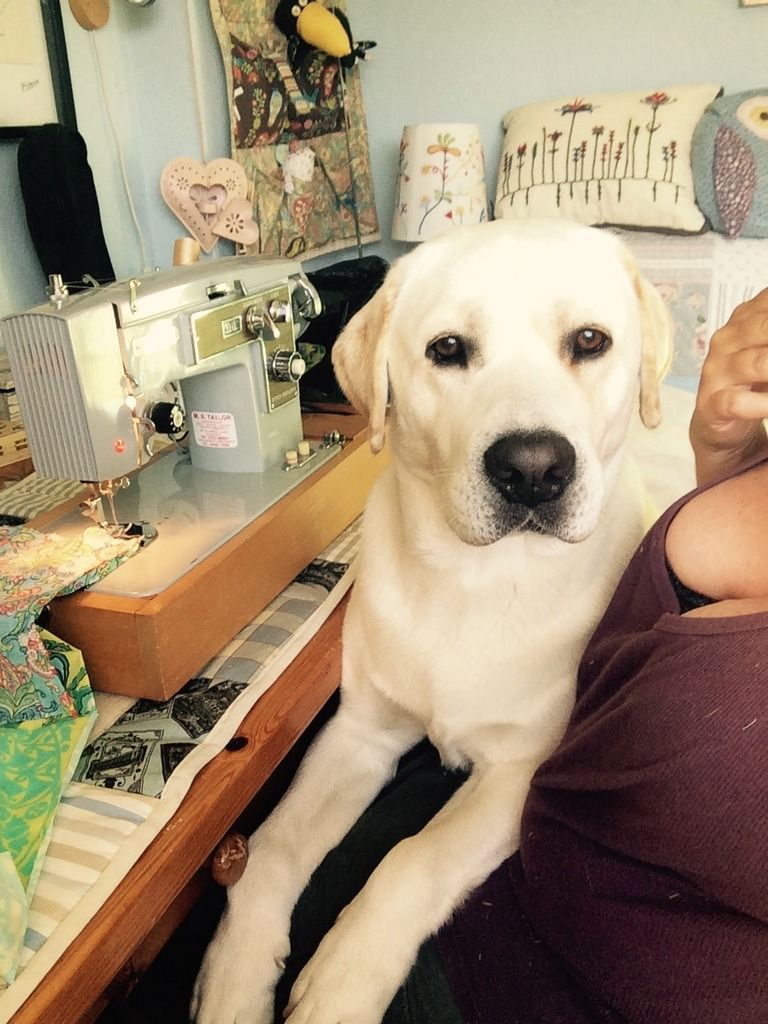
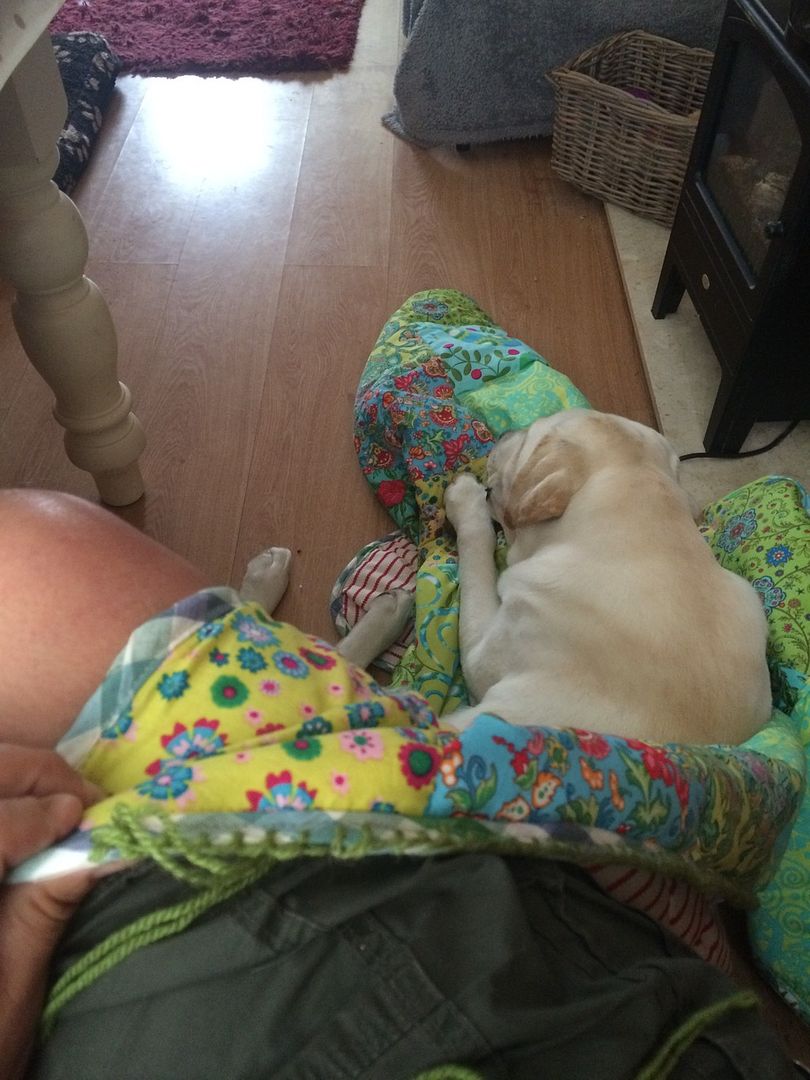
Despite Tarquin's greatest efforts to hamper the project, it was complete over a couple of days.  The dog is not an essential part of the tutorial, and in retrospect, I would probably not use his assistance next time

Materials

  • Fabrics of choice (no idea how much, just guess - You can tell I don't do tutorials for a living)
  • Cotton that matches sort of, out of the jumbled thread box
  • 4.5 tog Double duvet - dimensions 200cmx200cm (standard size - i got mine for £6.99 at B&M - but available anywhere)
  • 1 yard of material to make the bias binding, alternatively buy 8m of bias binding 
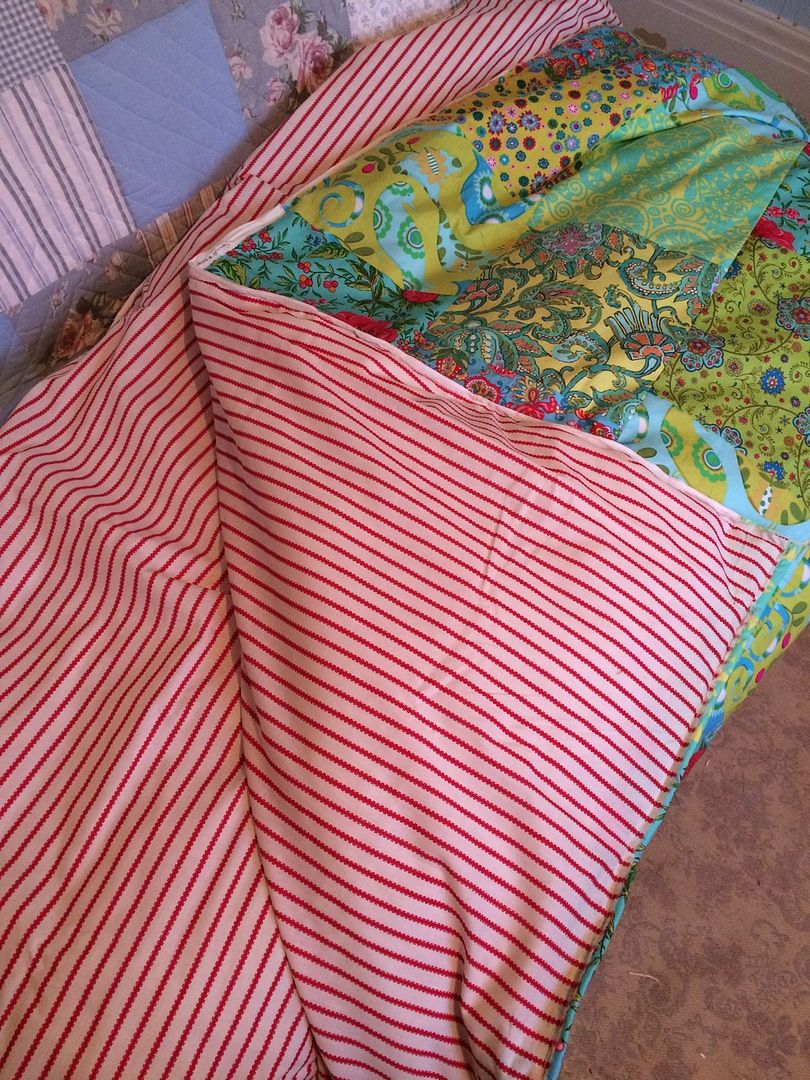
  • Material for backing 200cm x 200cm - I used one side of a king quilt cover and cut it down, rather that un-stitch the seam on a double cover.  Alternatively a flat sheet would work
If required - Pom Pom edging:
  • 2 @ 50g of contrasting wool for crochet edging if required (100g in total, but I use double thickness, so two balls is easier to work with)
  • 5mm crochet hook
  • a large tapestry needle to sew the wool (it needs to be a sharp point)

Method

Fabric cut into rectangles


Cut the fabric into even width rectangles/squares.  Mine differed on depth, but as it was strips it meant the verticals all lined up ok - therefore I didn't waste fabric trying to make them all the same size.  Also, if you vary the widths, it means you don't have the horrid job of lining it up horizontally as well, when you stitch it together :)  Just trim each strip so it is the same width top and bottom, before you stitch them all together,

STEP 1 - REMOVE DOG FROM SEWING TABLE


Patchwork sewn - notice the squares are not perfectly aligned
Press the seams and stitch all strips together - it needs to have the dimensions of 200cm x 200cm. (obviously for a smaller quilt base it on the dimensions of a single quilt).


Then working all around the edges sew the patchwork to one side of the duvet and turn over and sew the backing sheet to the back - use as small a seam as you can, as you need to cover the stitching with the bias binding.


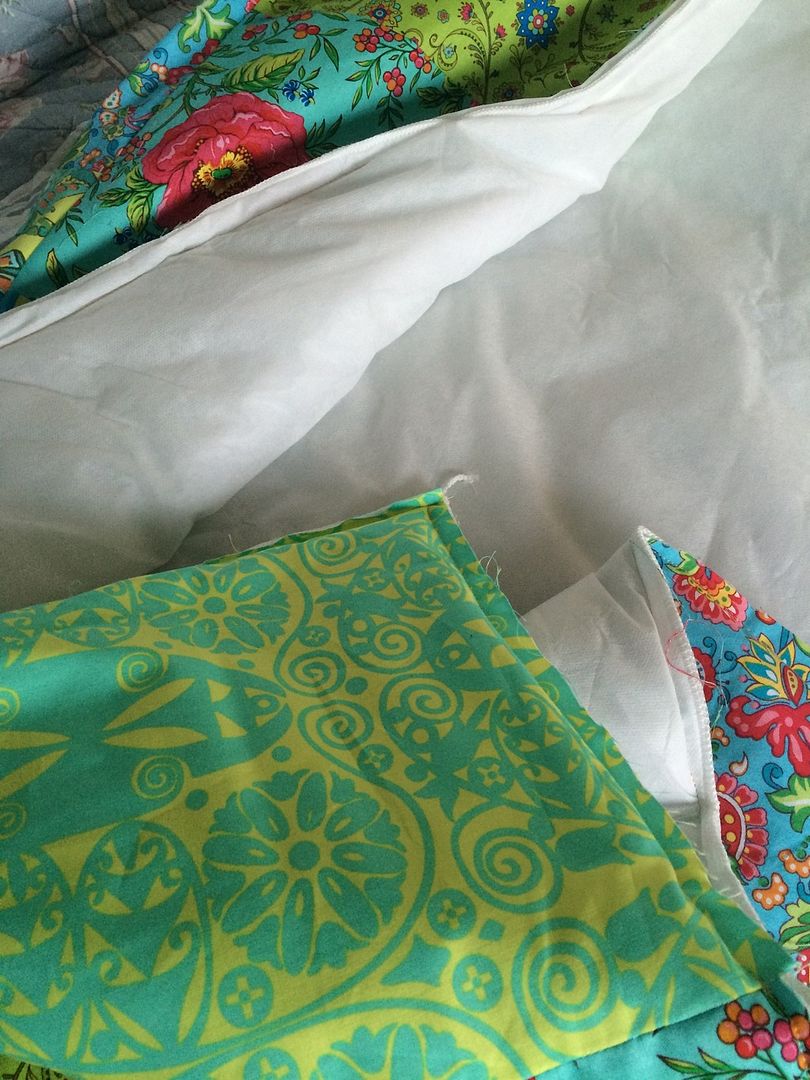
I don't do pinning or tacking, but as there is no movement in the duvet fabric it fits perfectly (unlike wadding, which I despise working with)

STEP 2 - REMOVE DOG FROM MATERIAL WHILST SEWING


Then sew your quilt line stitches - basically retrace all the patchwork joins, sewing through the entire quilt and backing fabric.  I have an old singer seamstress machine which coped easily.  Being quite a large throw, the centre rows are a bid fiddly to sew, but the duvet bunches through a standard arm machine ok


STEP 3 - REMOVE DOG FROM FINISHED PATCHWORK


Next bit is the bias binding edging.  I has a search around and found a few tutorials for continuous bias binding.  This shows the method better than most of the links, which can be a bit confusing:-

http://so-sew-easy.com/making-continuous-bias-binding-tape/


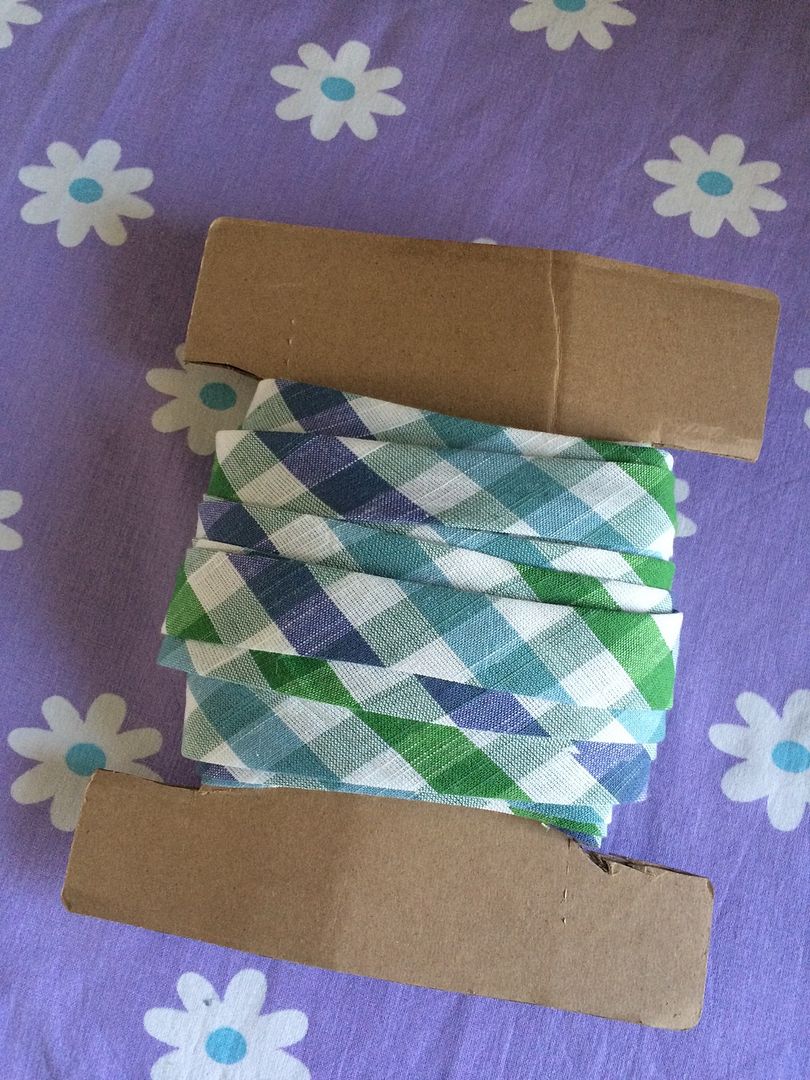
If its any consolation none of my two inch strips actually lined up, once i sewed the tube together...


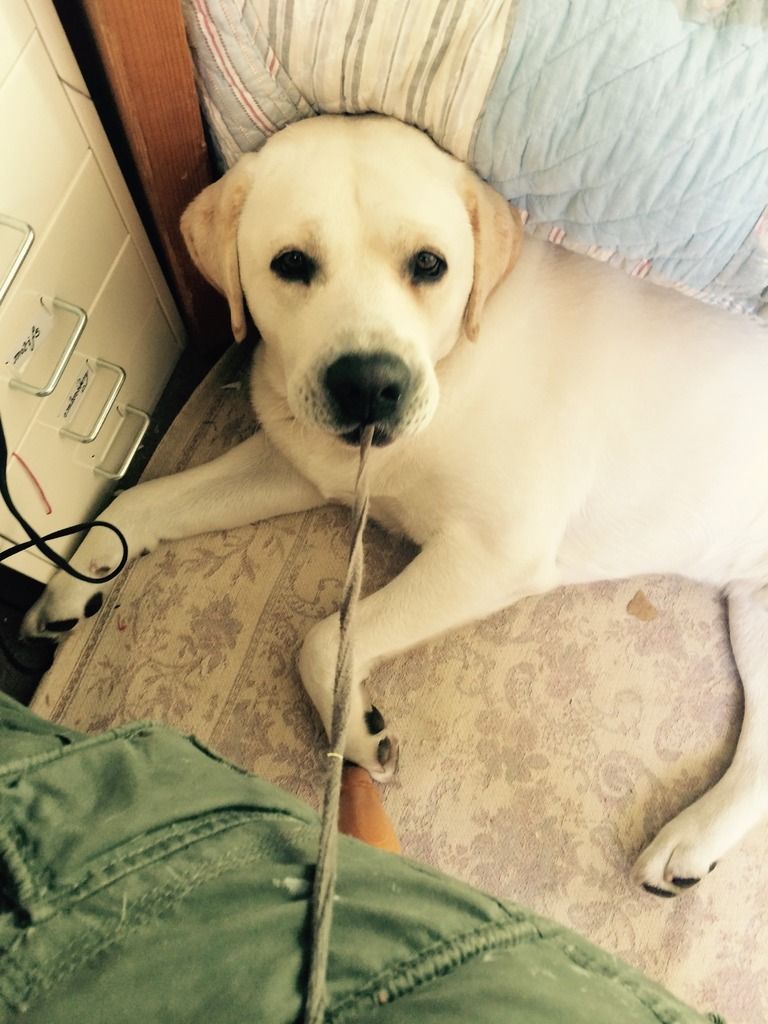
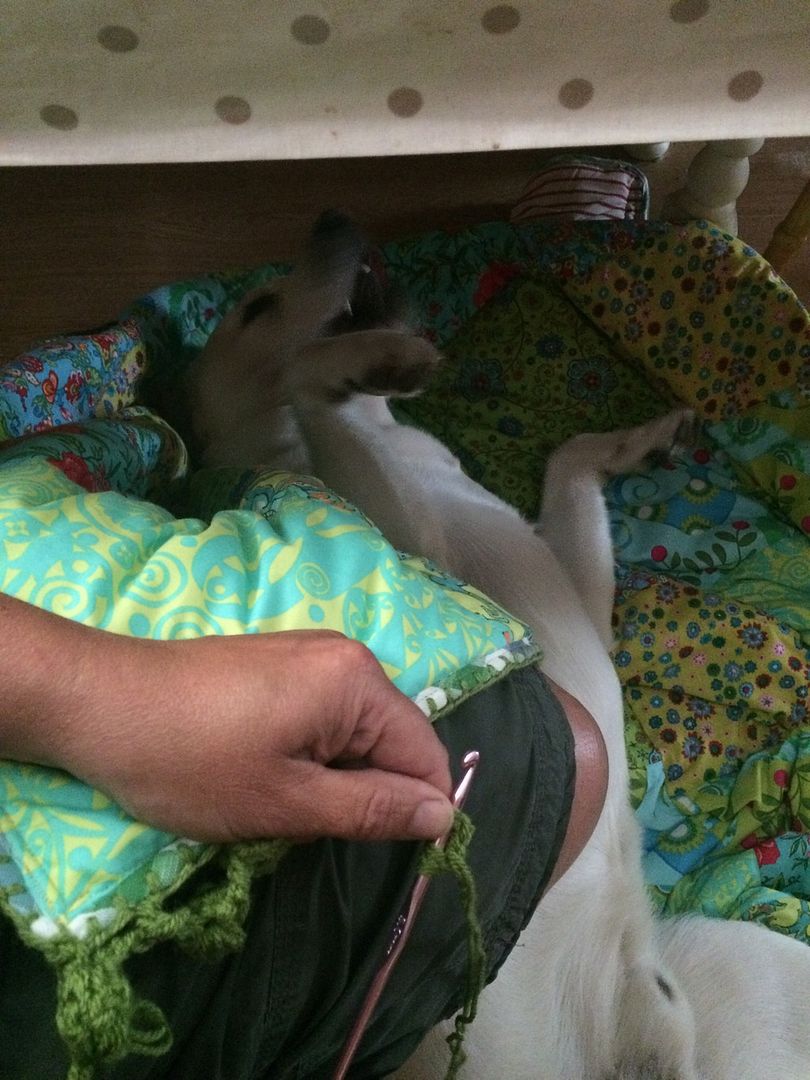
STEP 4 - REMOVE DOG FROM LAP


Using a 1 metre square, it gave me enough binding to go round the edges. Sew this onto the reverse first, then the front - it avoids tram lines on the front.  I obviously did it the other way round.  Bit of a boring task, but you could always buy ready made bias.

STEP 5 - STOP DOG FROM DRAGGING SHORTS OFF

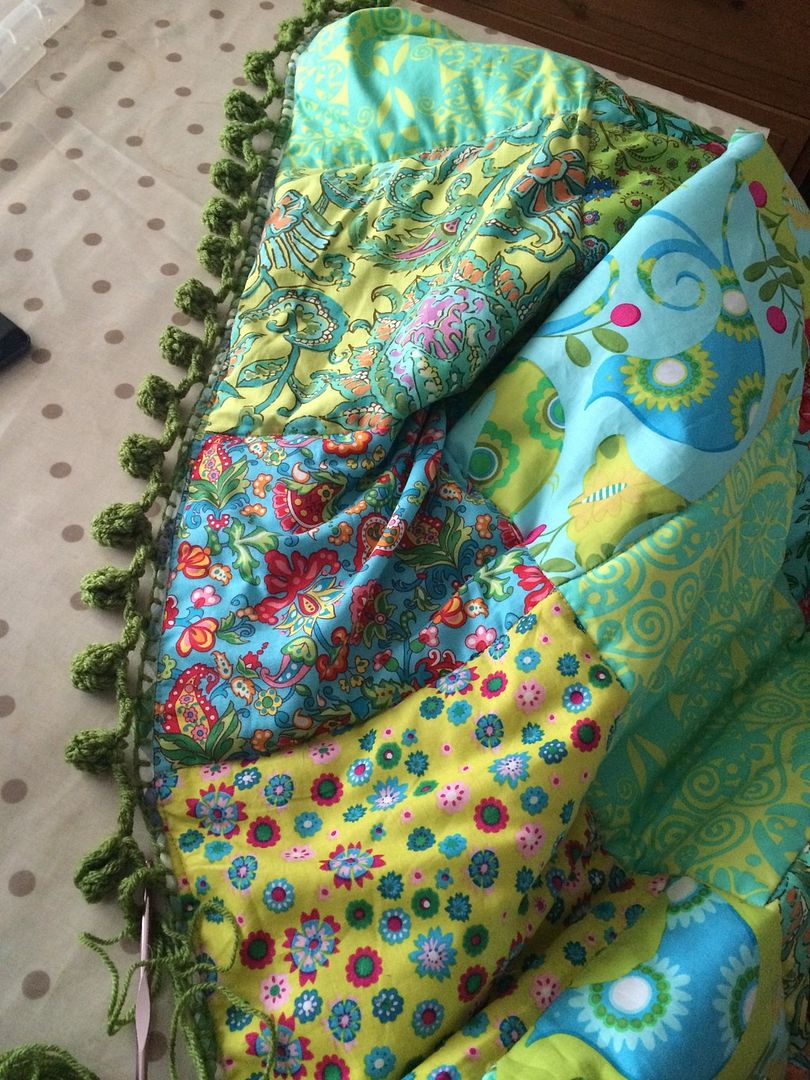
 This is the basic quilt finished, and its optional if you want to start adding the crochet pom pom edging
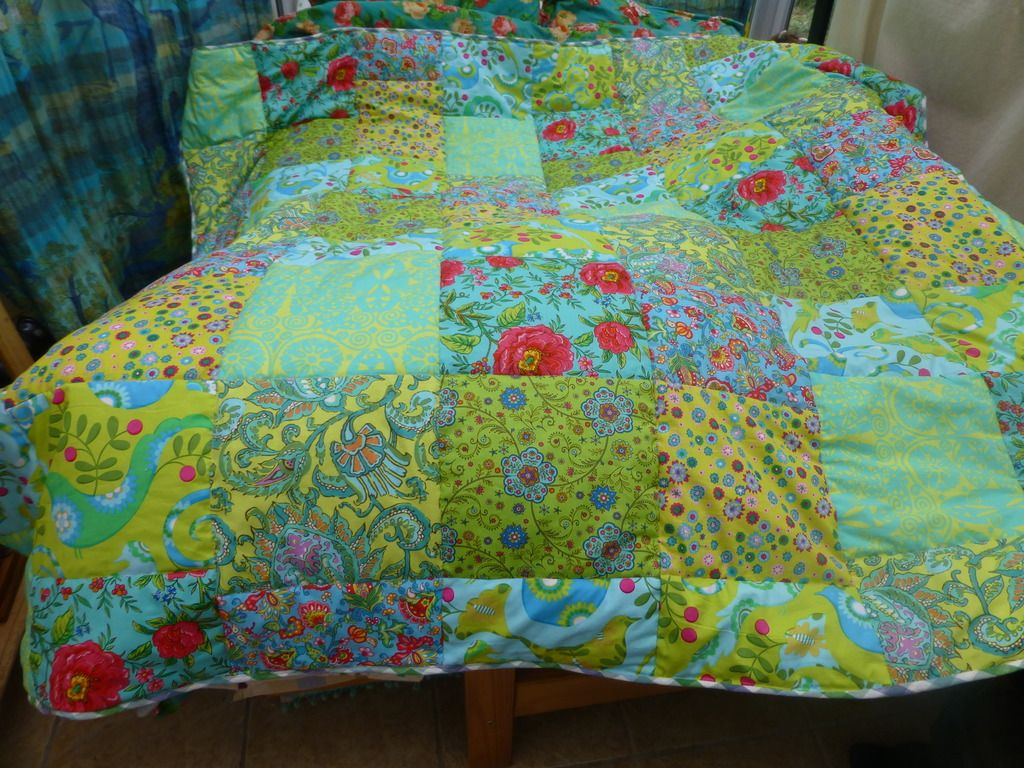
Pom Pom Edging


You can leave with just the bias binding edging, but I decided to over complicate it by adding a crochet pom pom border..

First step is making a way to actually crochet onto the fabric.  There are pointed head sharp crochet hooks available, but only up to about 2mm, so of no use to me, as I always use double knit minimum.

So the easiest way I could find to do it was to do a 'blanket' stitch all around the edge.  By a stroke of cunning I realised I only had to do three edges, as the top didn't need the pom poms.  So I started off sewing along the first side.  Which happened to be the top :(.   I was gutted as I realised I had just finished the side I didn't need to do.  The stitches are evenly placed about 1cm apart


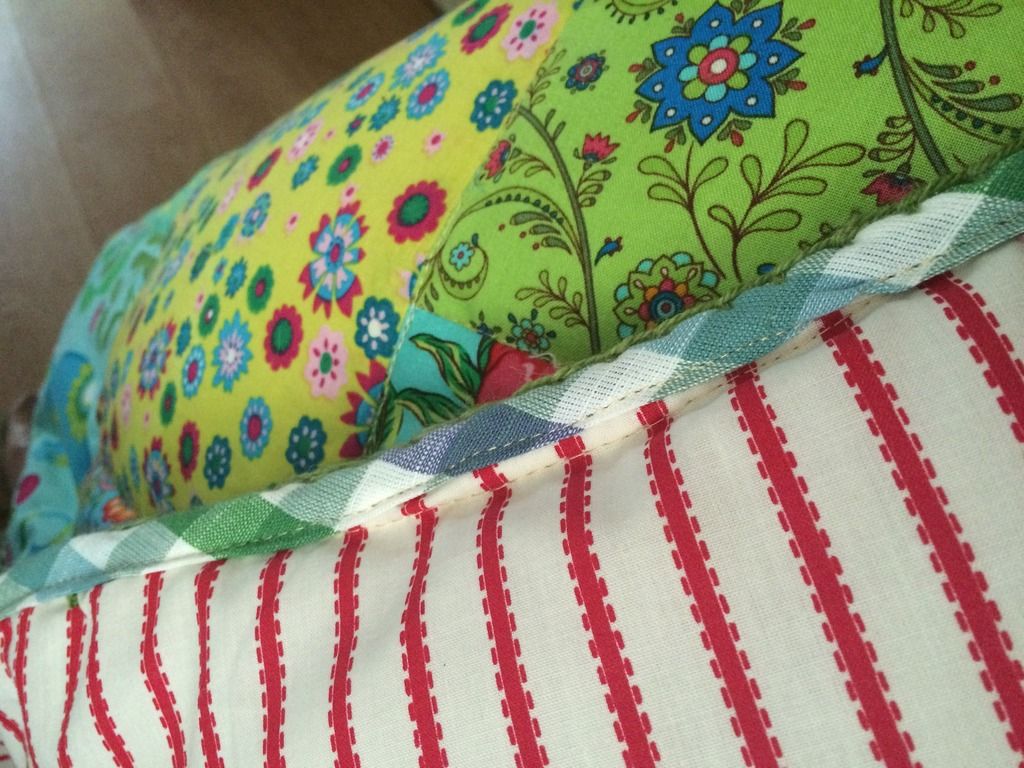
The reverse of the blanket has no stitching showing

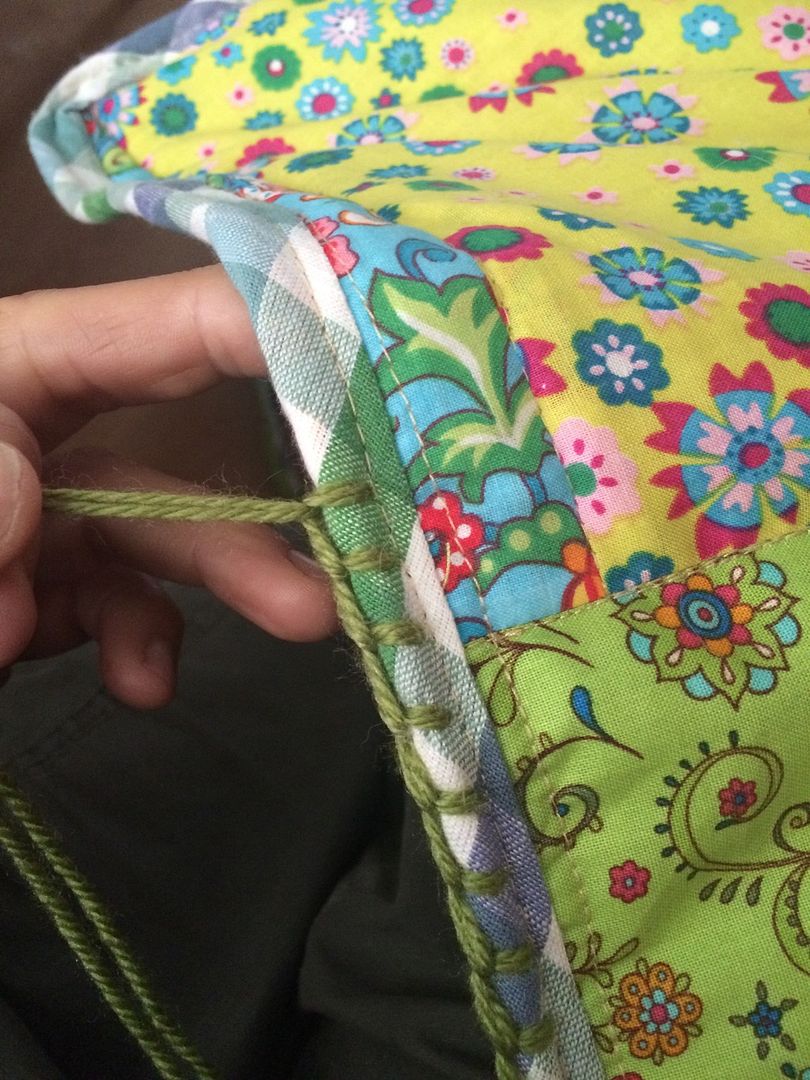
For the blanket stitch and the crochet pom pom edging, I use double thickness double crochet (i.e. 2 balls at a time on the pom poms, or sewing it doubled on the blanket stitch)


STEP 4 - REMOVE DOG WHILST STITCHING BLANKET STITCH


Once the blanket stitch is in place I simply added the crochet pom poms using this tutorial:-

http://onceuponapinkmoon.blogspot.co.uk/2013/09/pom-pom-edge.html

I spaced the pom poms by skipping every three blanket stitches (about 3cm) 


STEP 5 - REMOVE DOG WHILST CROCHETING POMPOMS


(I crochet pom pom edges onto all sorts now, is my favourite stitch :) )  And I managed to do the three sides successfully, so I don't wake up with a pom pom in my mouth
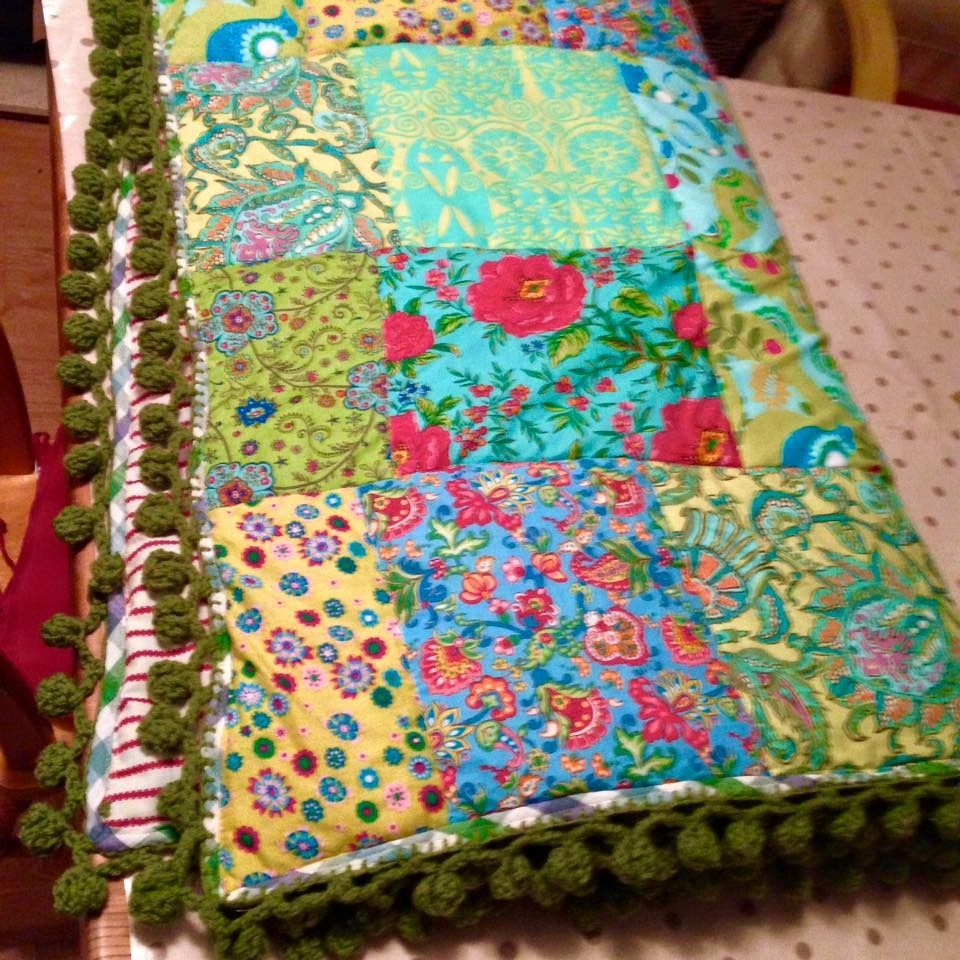


Finished


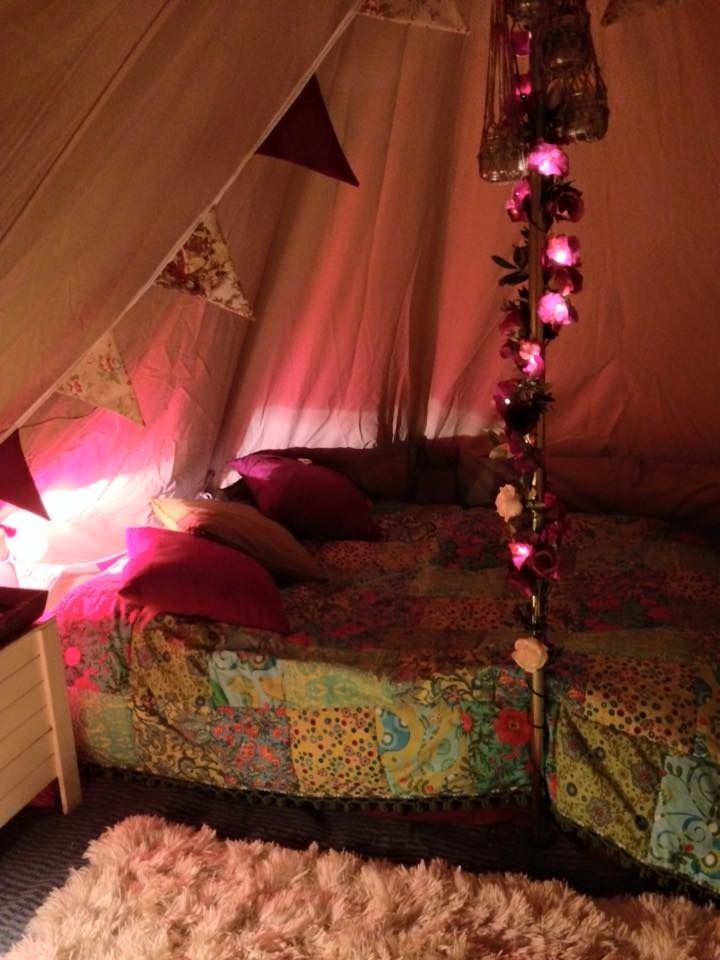
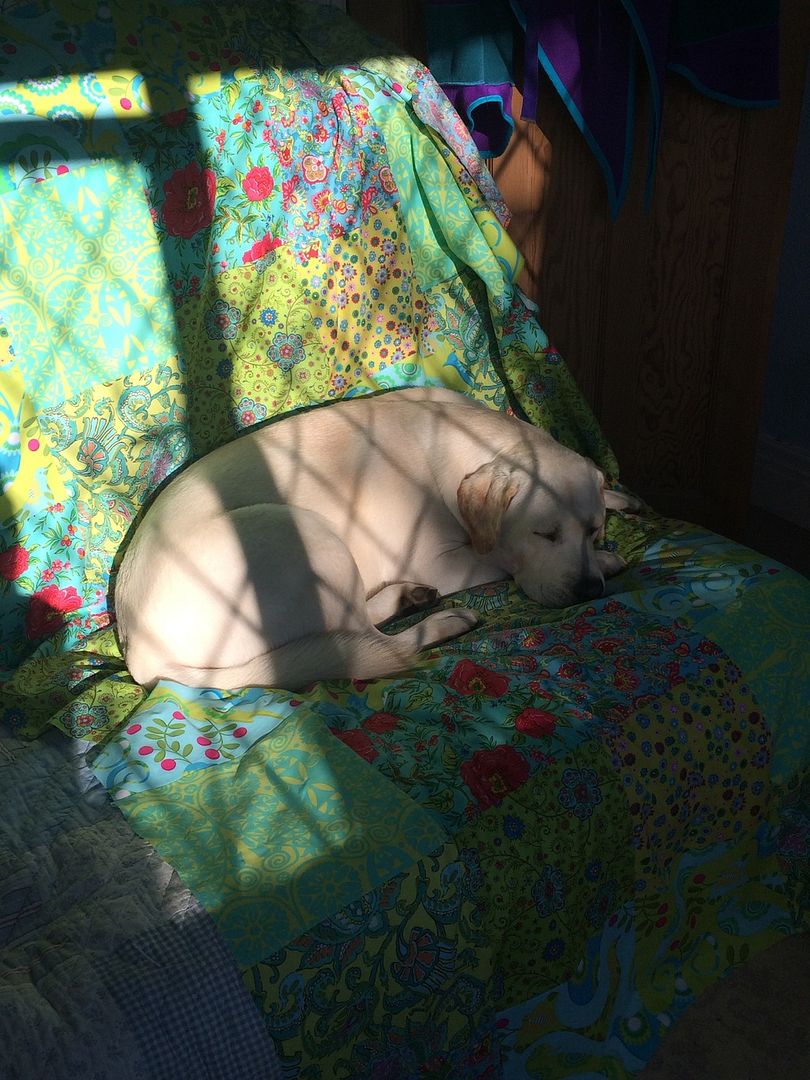
Lastly,pitching the tent in the garden, to make sure it looked ok :)


FINAL STEP - REMOVE DOG TO GET IN BED


Tuesday, 21 July 2015

CRAFTY: Hanging Tea Light Lanterns

Some quick instructions on how to make some hanging tea light holders


Materials needed:


Small Jars (Jam, kilner, anything will do that you can fit a tea light through the neck)
Twine
Sharpies in your preferred colours
Elastic Bands


Method

Simply draw any design onto the glass jar. The sharpies are permanent and dry instantly, so no smudging etc.  If you use a black and more bold design it will reflect through the glass onto the wall.

Mine are just random 5 minute dabblings of nothing much in particular, but they look ok from a distance...!


The twine holder is easy, and just involves 4 strands of twine, cut then knotted evenly around the jar.  There are more intricate macrame holders on you tube etc, but I was quite happy with basics, and used the instructions in this link:

How to make the twine hanging holder


It was made in the same way as we created a gill net at the Wilderness Gathering.  I have yet to utilise this skill for catching sticklebacks though


The only other comment I would make is don't be alarmed when you light them - the twine sparks and instantly goes out, but frightens the life out of you (I thought it was the quickest making and destruction of a DIY project yet).  Pull the twine away when you light the candle!


Thursday, 9 April 2015

A few more crafty bits

We started a group on facebook (here) for making crafty bits for the tents, so this spurred the latest fad of trying to crochet...

So far this has resulted in the circular blanket for the round air bed, which I blogged about previously

And a few random things...

No idea if this will ever get finished, but a crochet pole cover seemed like a good idea... (relegated to bottom of wicker basket at the moment)


Then there was some garland, based on this pattern, which turned out ok....


and did actually make it into the tent :)


A few discarded starter projects...


Next was the cover for the cupboard, the usual bright colours that don't show every mucky pawprint


Then the sun came out, so crafty duties had to be relevant to spending time in the garden...

A project had been waiting in the shed for a few months, the table re-furb


Some cheap £2 enamel paints from B & Q, and a background colour from a tester pot of emulsion


Then a fuzzy layer of more paint rubbed randomally on it


A couple of hours later...Voila! and its transformed!!!

Not sure for the better tbh, but its different... :)


And I did actually manage to get away camping last week :) So hopefully will blog that when Tarq leaves me alone for 5 minutes to do it

Thursday, 17 July 2014

Another re-vamp jobby

Yes another project....

I saw a steamer trunk on ebay that was refurbed - basically canvas ripped off, sanded and sealed...and I wanted it

So safe in the knowledge I would win hands down, i left a reserve of £70 on the shill bidder, and waited for the notification I had won

Well, was a bit bloody ambitious as it actually sold for £235.  So back to the drawing board

For the pricely sum of £30 i got a trunk that would be the shape etc i needed, plus a lift out tray (dunno why, but this was on my list of NEED)

No idea if it had wood underneath it even, but was prepared to give it a go

So threw it in the shed for 2 weeks, before i was brave enough to take it out and tackle it

Nice hey?


Inside is a bit manky, and still need to do this


Scraping a bit to see if there is any wood underneath...


Oh, stuff it, just go for it...Gulp


Stripped, but loads of crappy bits stuck under all the banding.  Horrible job.  Fingers hurt :(


Sides look a bit rough :(


Bit of sanding and starting to look better :)


Stripped!!!


There is brass under the black catches


A coat of wax..


Just drying off now


And I'm pretty pleased with it!  Still need to glue one of the side handles, and line the inner.  Will update when its done (if ever)


Had it's first outing on an overnighter to Kingsbury Water Park


Just need to do the interior still....


CRAFTY POST - My revolting conservatory-camping-store-room, really needed a makeover....

Finished!  So I get asked, where do I store all my camping kit? The answer is everywhere...attic...shed...trailor....cam...