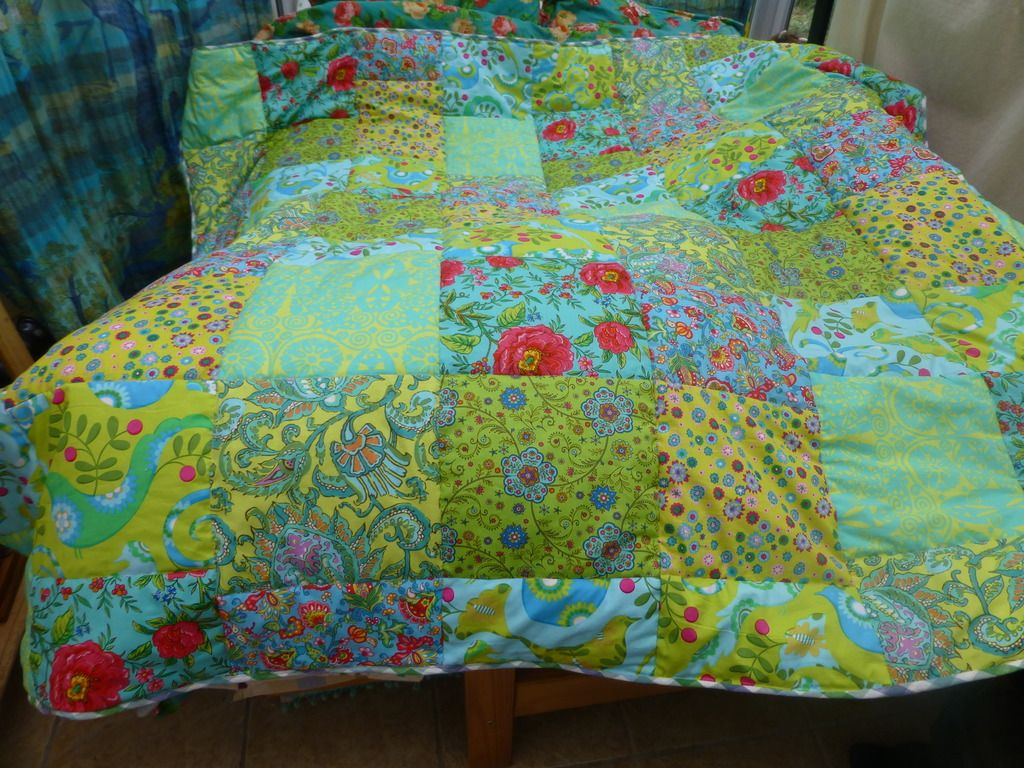
So the latest project was one that had been sat around for three years. Based on a pattern for an Amy Butler quilt, but using some cheapo fabrics as well - It worked out too expensive to use all Amy Butler.
So some Moda, Michael Miller, and tat ebay fabrics were also included.
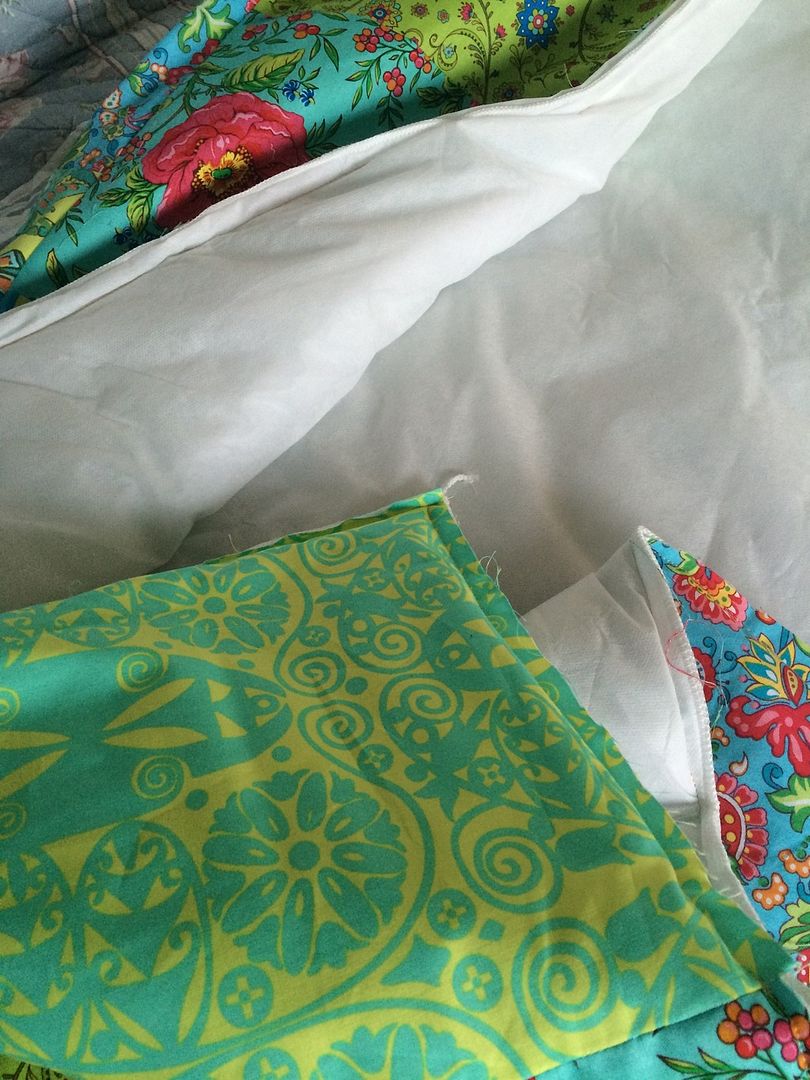
I hate using wadding, but do like the depth of quilting, so I cheated, and used a 4.5 tog summer double duvet
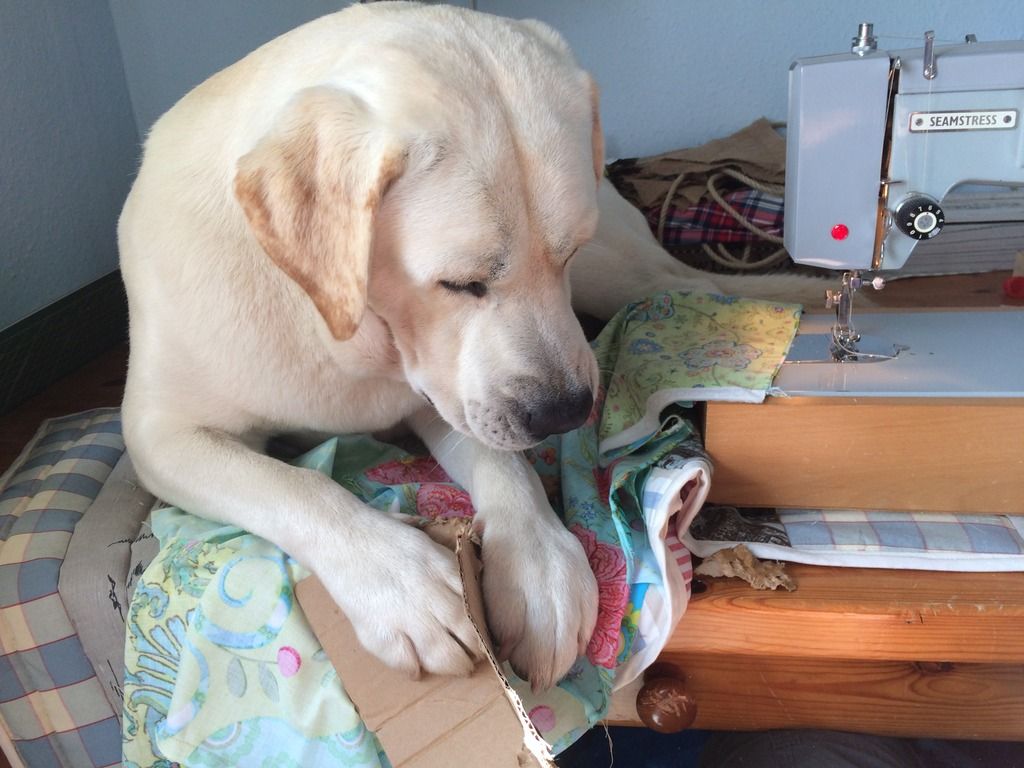
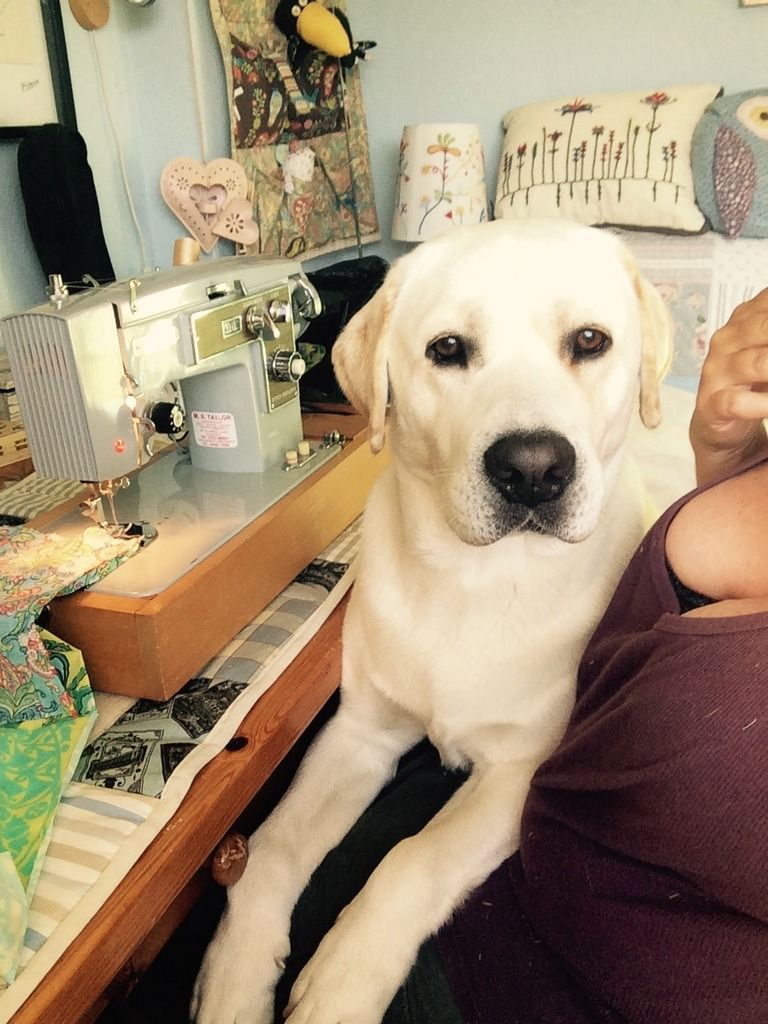
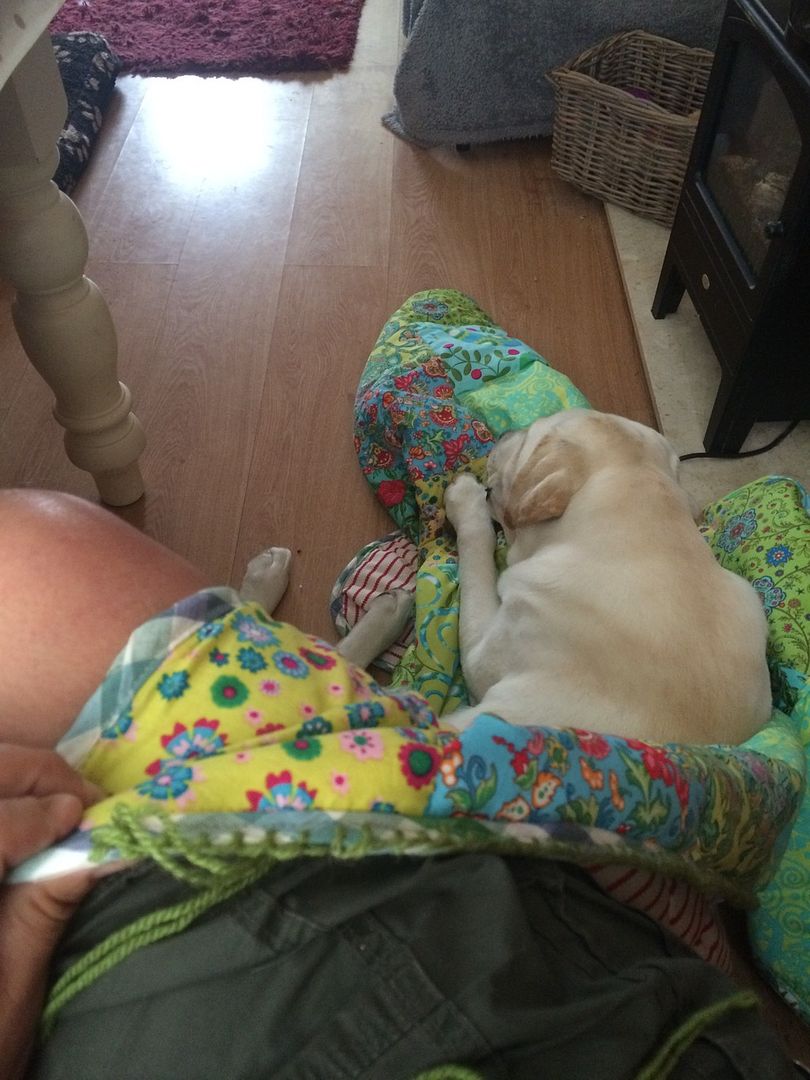
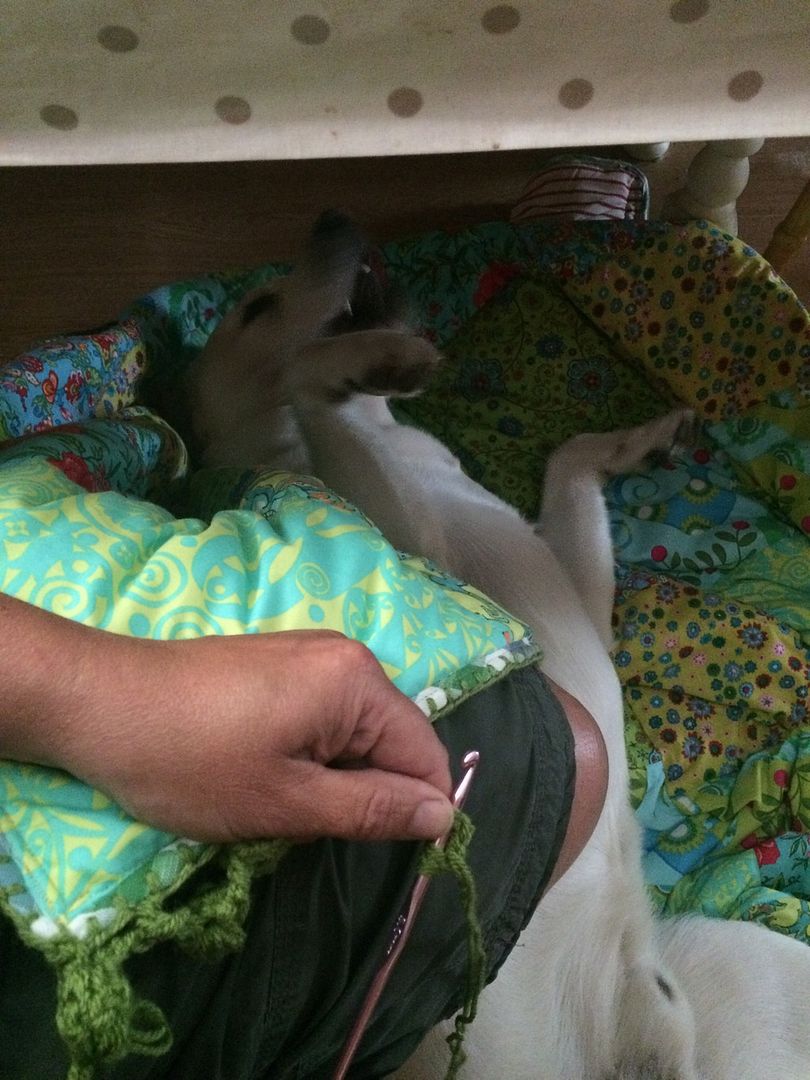
Despite Tarquin's greatest efforts to hamper the project, it was complete over a couple of days. The dog is not an essential part of the tutorial, and in retrospect, I would probably not use his assistance next time
Materials
Fabrics of choice (no idea how much, just guess - You can tell I don't do tutorials for a living)
Cotton that matches sort of, out of the jumbled thread box
4.5 tog Double duvet - dimensions 200cmx200cm (standard size - i got mine for £6.99 at B&M - but available anywhere)
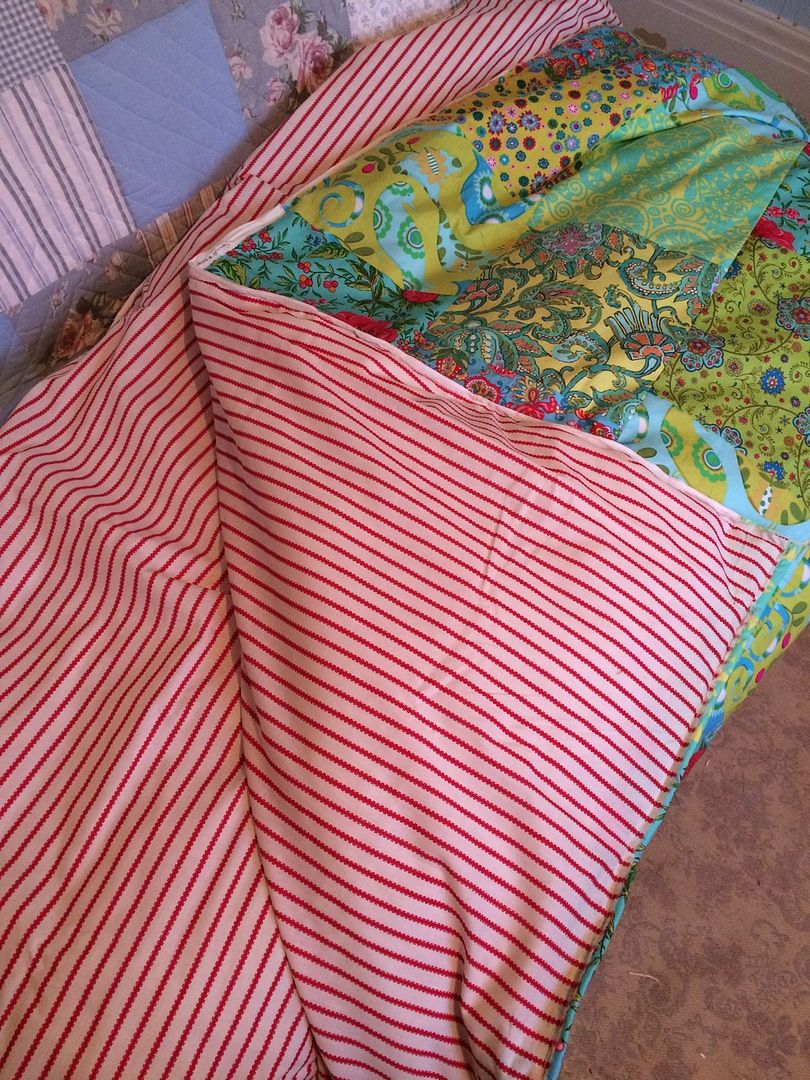
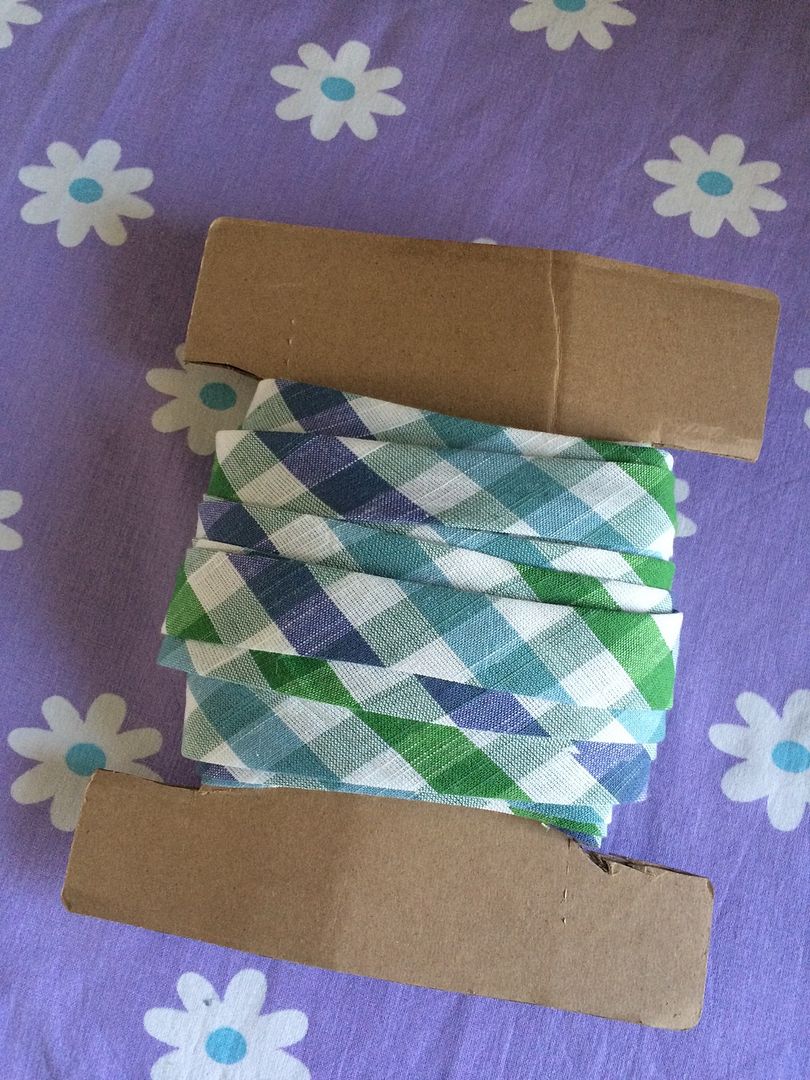
1 yard of material to make the bias binding, alternatively buy 8m of bias binding
Material for backing 200cm x 200cm - I used one side of a king quilt cover and cut it down, rather that un-stitch the seam on a double cover. Alternatively a flat sheet would work
If required - Pom Pom edging:
2 @ 50g of contrasting wool for crochet edging if required (100g in total, but I use double thickness, so two balls is easier to work with)
5mm crochet hook
a large tapestry needle to sew the wool (it needs to be a sharp point)
Method
Fabric cut into rectangles
Cut the fabric into even width rectangles/squares. Mine differed on depth, but as it was strips it meant the verticals all lined up ok - therefore I didn't waste fabric trying to make them all the same size. Also, if you vary the widths, it means you don't have the horrid job of lining it up horizontally as well, when you stitch it together :) Just trim each strip so it is the same width top and bottom, before you stitch them all together,
STEP 1 - REMOVE DOG FROM SEWING TABLE
Patchwork sewn - notice the squares are not perfectly aligned
Press the seams and stitch all strips together - it needs to have the dimensions of 200cm x 200cm. (obviously for a smaller quilt base it on the dimensions of a single quilt).
Then working all around the edges sew the patchwork to one side of the duvet and turn over and sew the backing sheet to the back - use as small a seam as you can, as you need to cover the stitching with the bias binding.
I don't do pinning or tacking, but as there is no movement in the duvet fabric it fits perfectly (unlike wadding, which I despise working with)
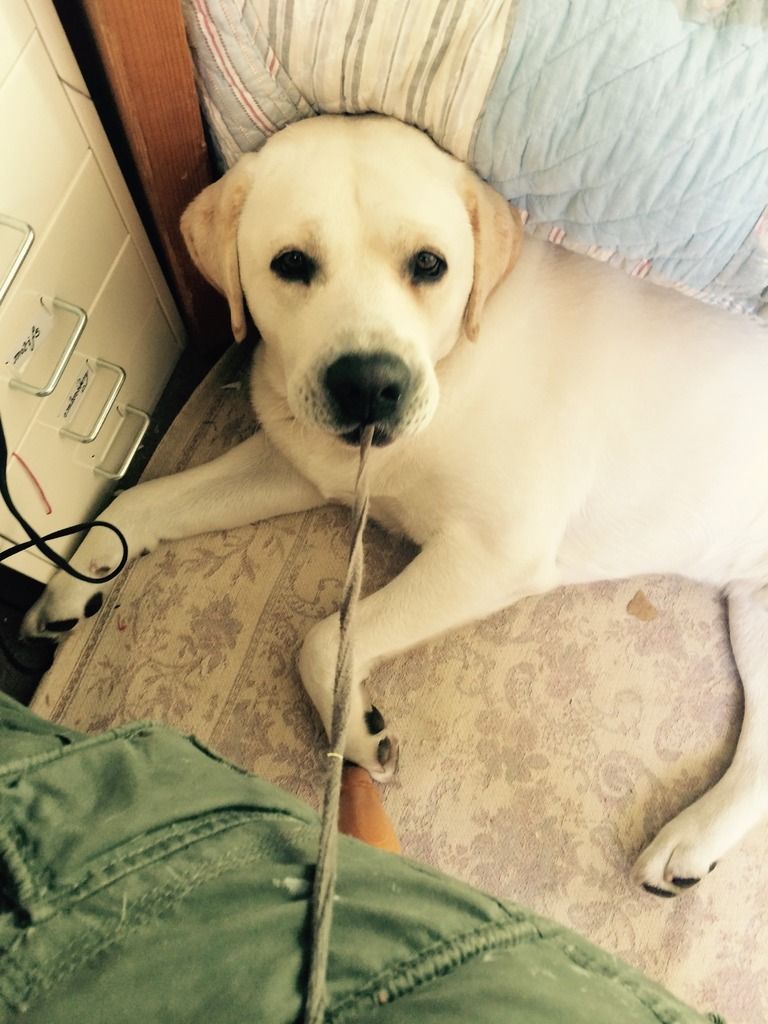
STEP 2 - REMOVE DOG FROM MATERIAL WHILST SEWING
Then sew your quilt line stitches - basically retrace all the patchwork joins, sewing through the entire quilt and backing fabric. I have an old singer seamstress machine which coped easily. Being quite a large throw, the centre rows are a bid fiddly to sew, but the duvet bunches through a standard arm machine ok
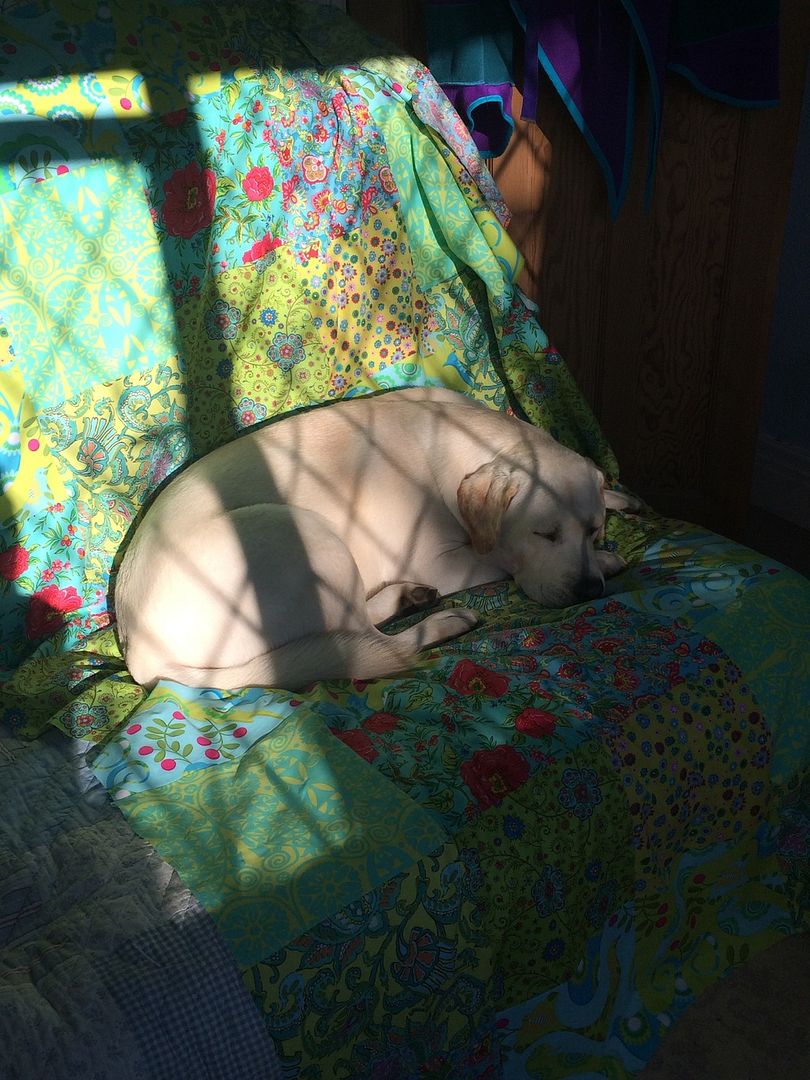
STEP 3 - REMOVE DOG FROM FINISHED PATCHWORK
Next bit is the bias binding edging. I has a search around and found a few tutorials for continuous bias binding. This shows the method better than most of the links, which can be a bit confusing:-
If its any consolation none of my two inch strips actually lined up, once i sewed the tube together...
STEP 4 - REMOVE DOG FROM LAP
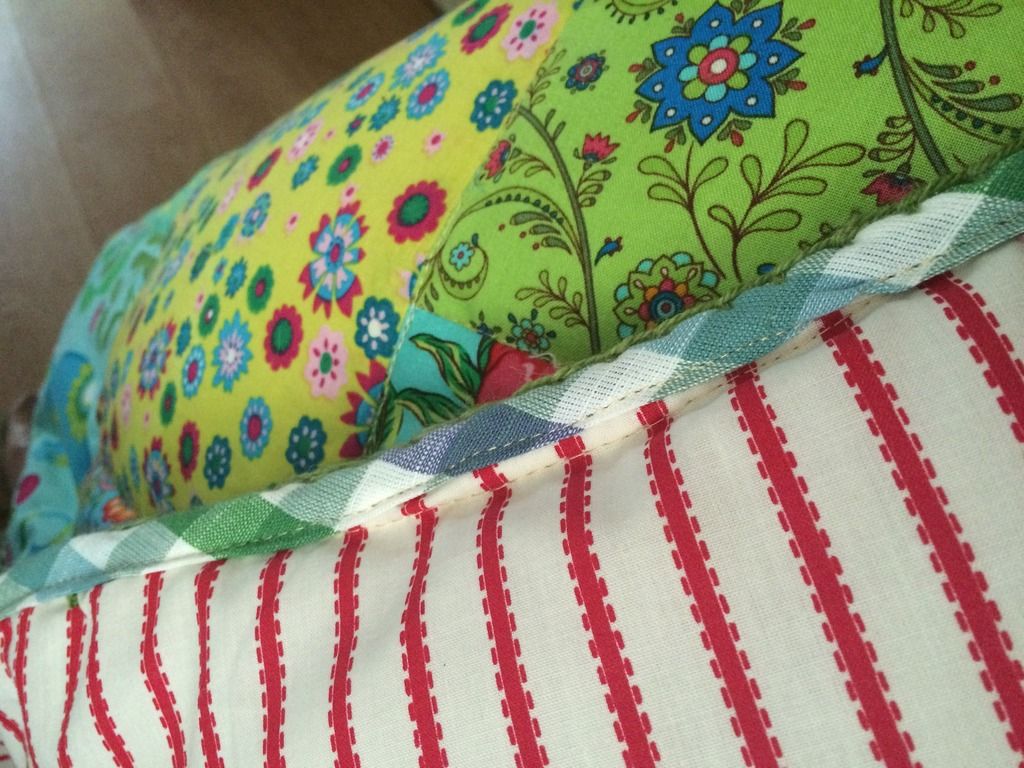
Using a 1 metre square, it gave me enough binding to go round the edges. Sew this onto the reverse first, then the front - it avoids tram lines on the front. I obviously did it the other way round. Bit of a boring task, but you could always buy ready made bias.
STEP 5 - STOP DOG FROM DRAGGING SHORTS OFF
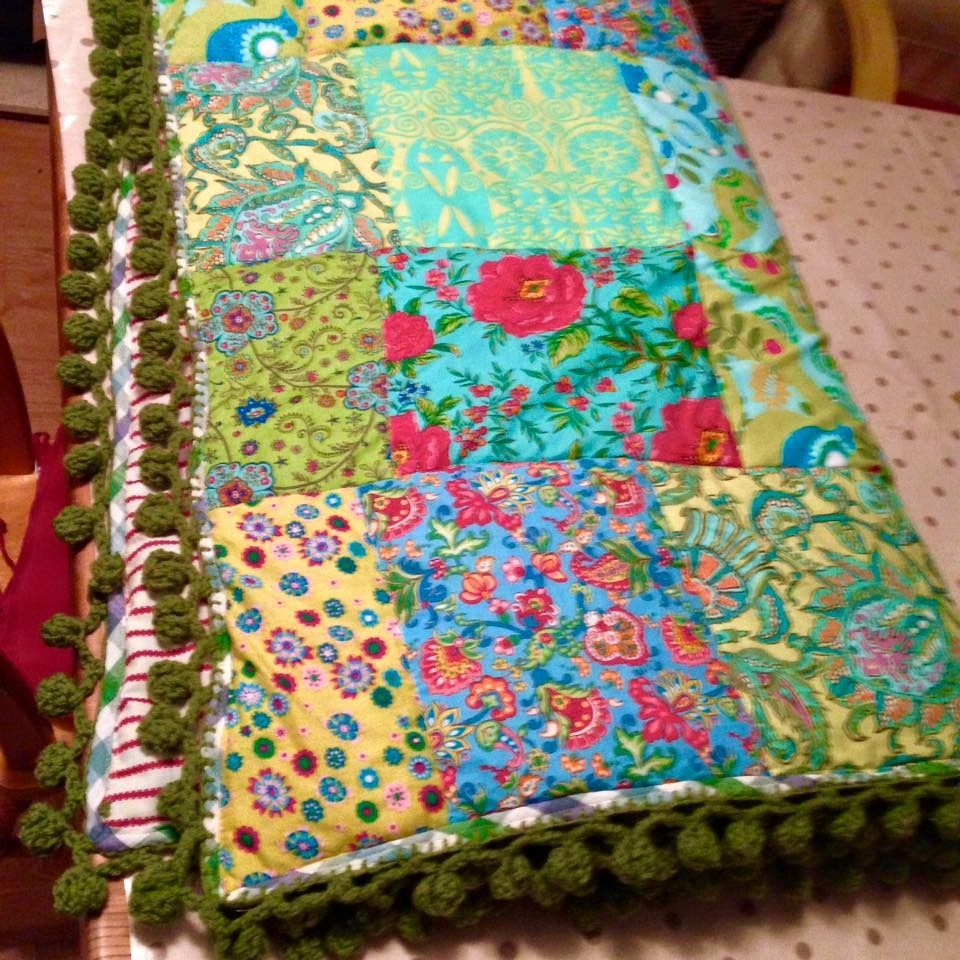
This is the basic quilt finished, and its optional if you want to start adding the crochet pom pom edging
Pom Pom Edging
You can leave with just the bias binding edging, but I decided to over complicate it by adding a crochet pom pom border..
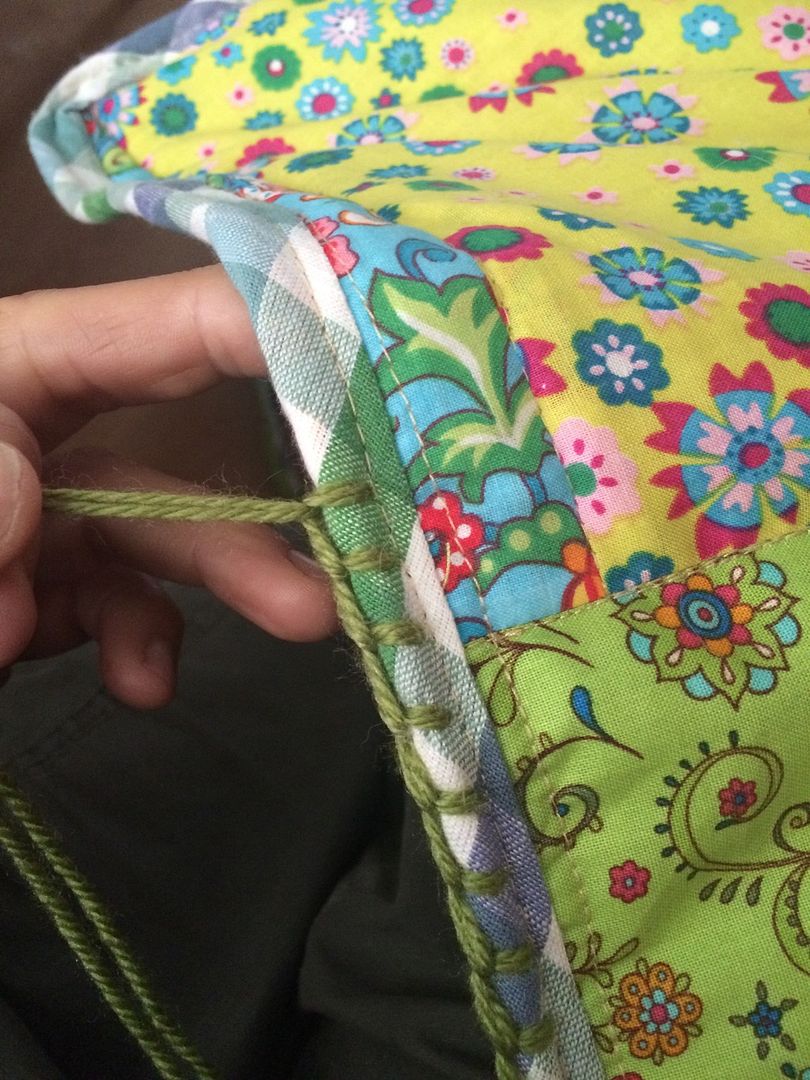
First step is making a way to actually crochet onto the fabric. There are pointed head sharp crochet hooks available, but only up to about 2mm, so of no use to me, as I always use double knit minimum.
So the easiest way I could find to do it was to do a 'blanket' stitch all around the edge. By a stroke of cunning I realised I only had to do three edges, as the top didn't need the pom poms. So I started off sewing along the first side. Which happened to be the top :(. I was gutted as I realised I had just finished the side I didn't need to do. The stitches are evenly placed about 1cm apart
The reverse of the blanket has no stitching showing
For the blanket stitch and the crochet pom pom edging, I use double thickness double crochet (i.e. 2 balls at a time on the pom poms, or sewing it doubled on the blanket stitch)
STEP 4 - REMOVE DOG WHILST STITCHING BLANKET STITCH
Once the blanket stitch is in place I simply added the crochet pom poms using this tutorial:-
I spaced the pom poms by skipping every three blanket stitches (about 3cm)
STEP 5 - REMOVE DOG WHILST CROCHETING POMPOMS
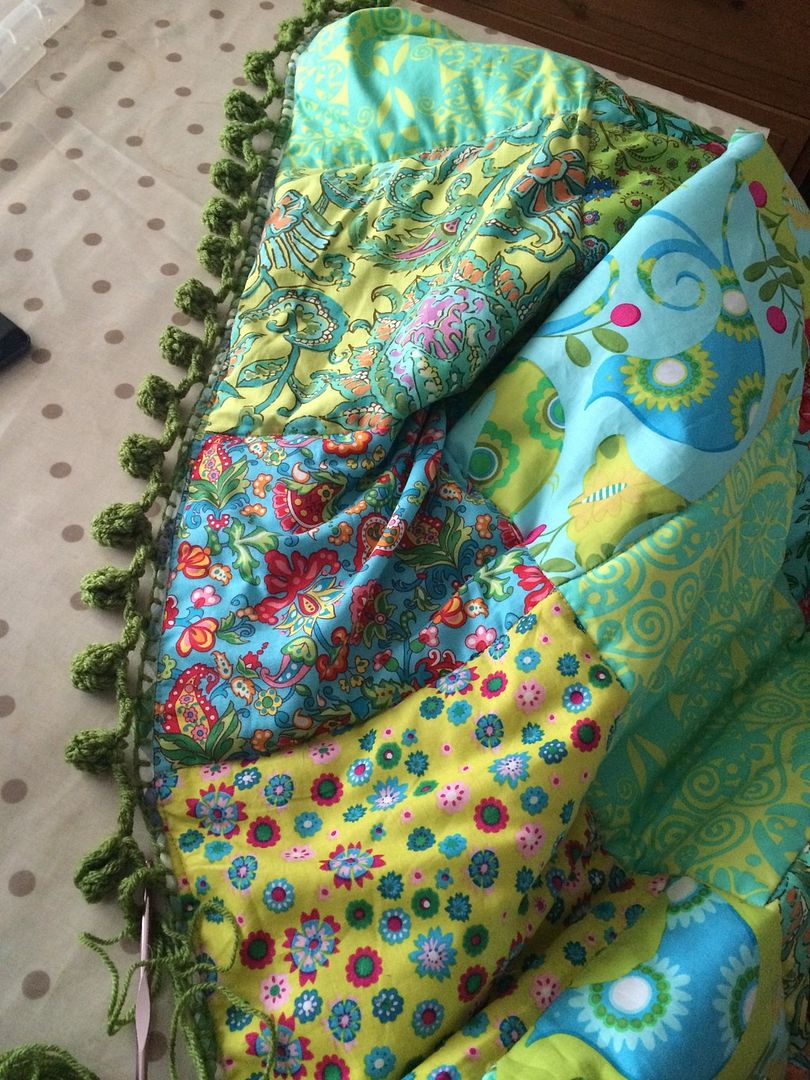
(I crochet pom pom edges onto all sorts now, is my favourite stitch :) ) And I managed to do the three sides successfully, so I don't wake up with a pom pom in my mouth
Finished
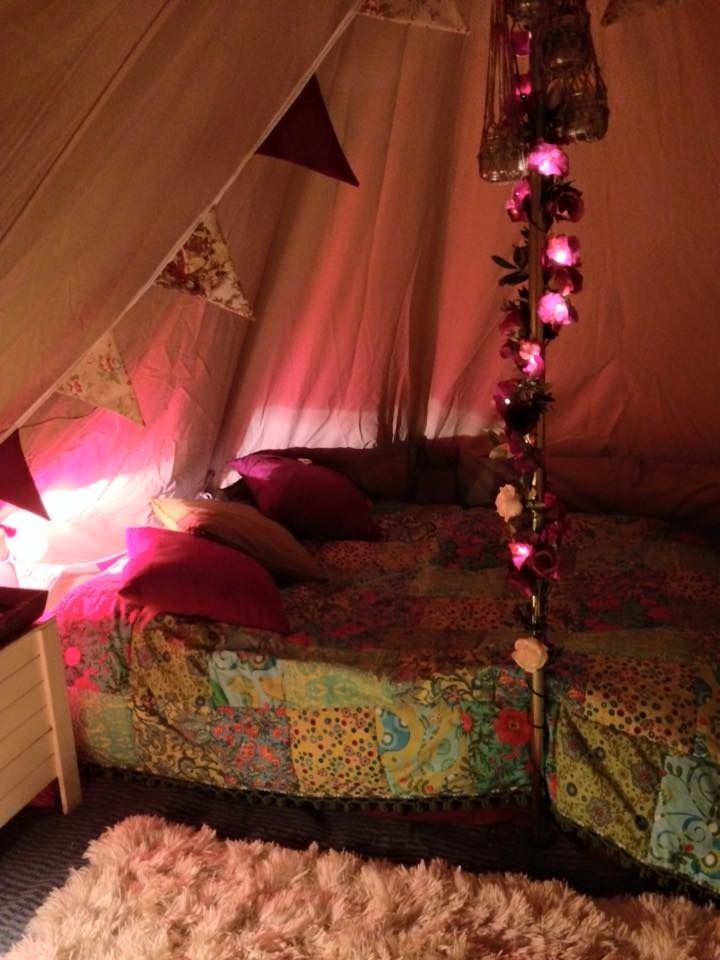
Lastly,pitching the tent in the garden, to make sure it looked ok :)
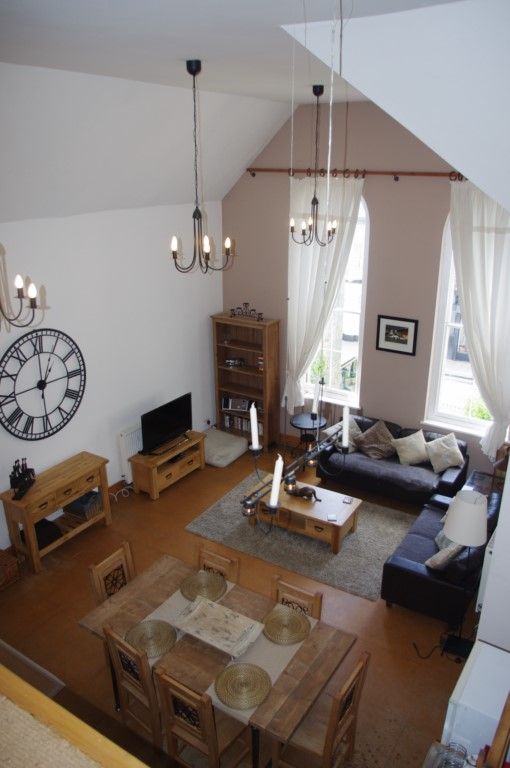
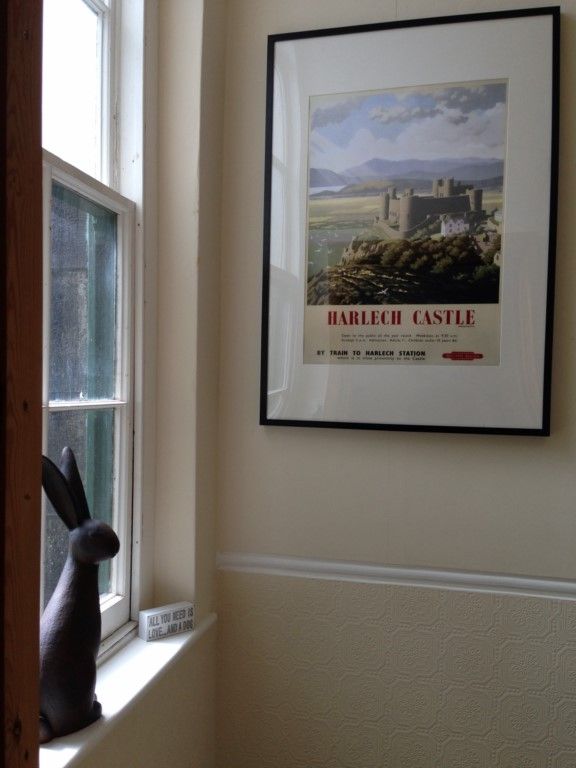
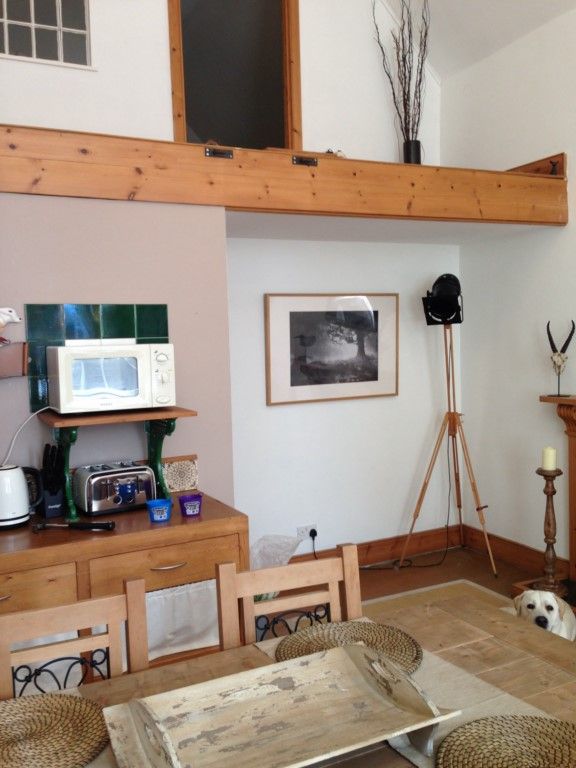
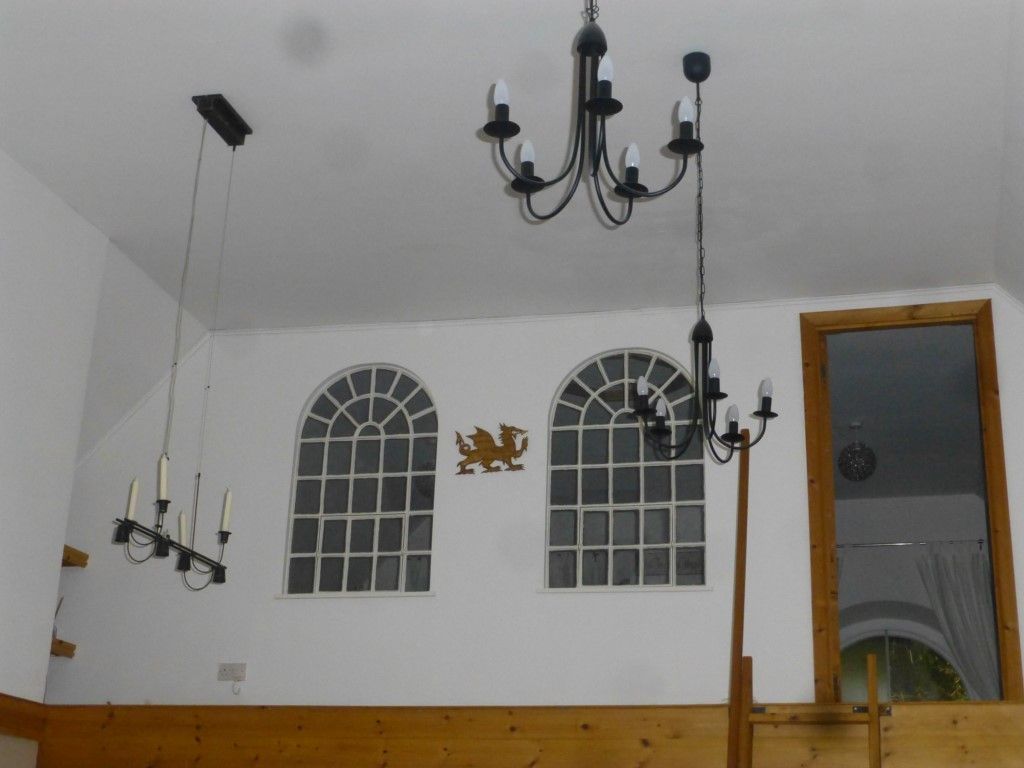
After a few years of camping at Nantcol Waterfalls in Llanbedr, and doing the usual, 'scour the estate agents for a plot of land, chalet etc etc'. I came across a converted chapel apartment in Barmouth
And fell in love
After an in depth adult conversation with the OH ..
'Do you want to go halves on buying a converted chapel flat in Barmouth?'
'Yes, ok'
Job done
So 5 months later we randomally own a mortgage...
Not ideal for dogs, as there is no garden, but Tarq is more than happy staying there. It does mean I started off with 6am & 11pm walks on the beach for 'wee' time, but now I have resolved the situation by ignoring him and tying elastic bands around his knob
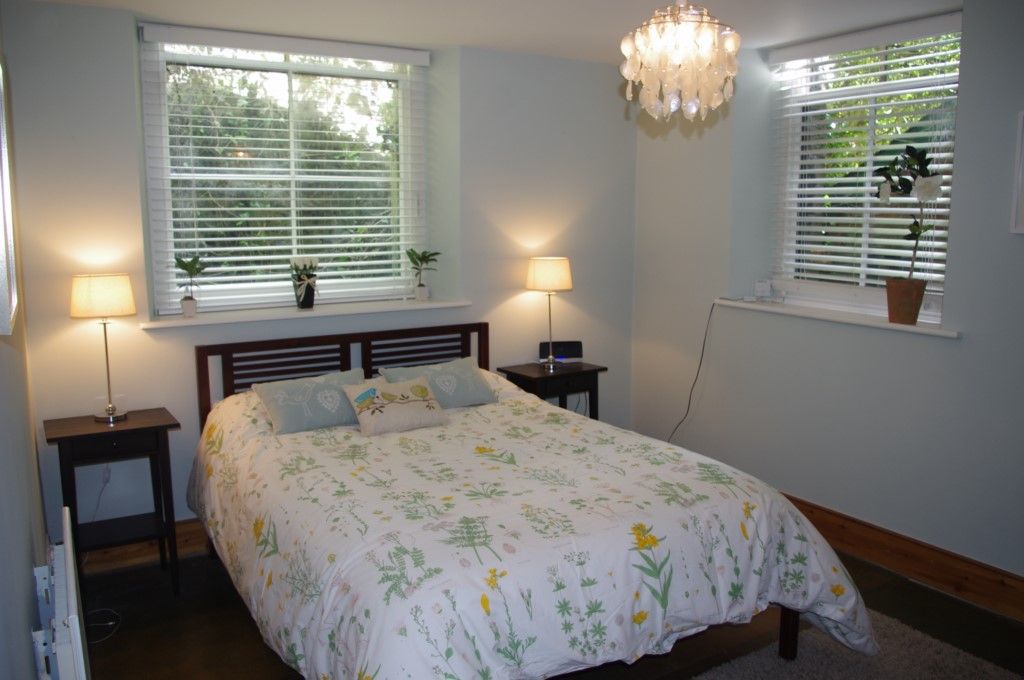
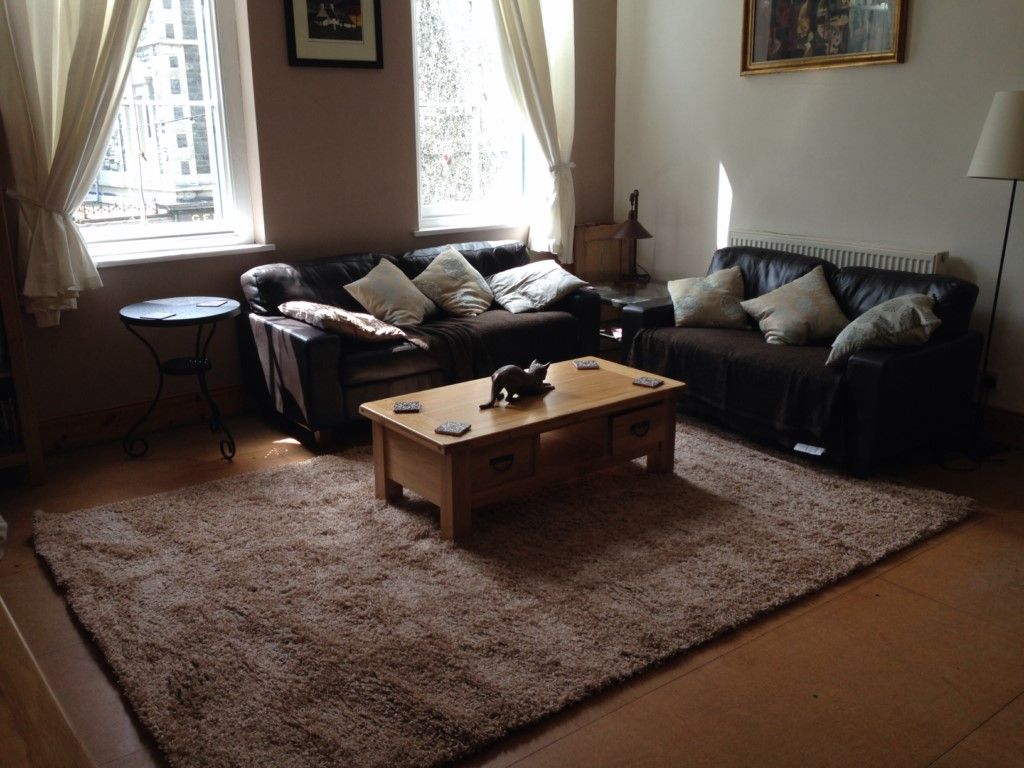
It's located in the High Street, so easy access to everything - beach, shops, pubs. But stands back from the road, so you can curtain twitch at the passerbys, but its very quiet in the flat.
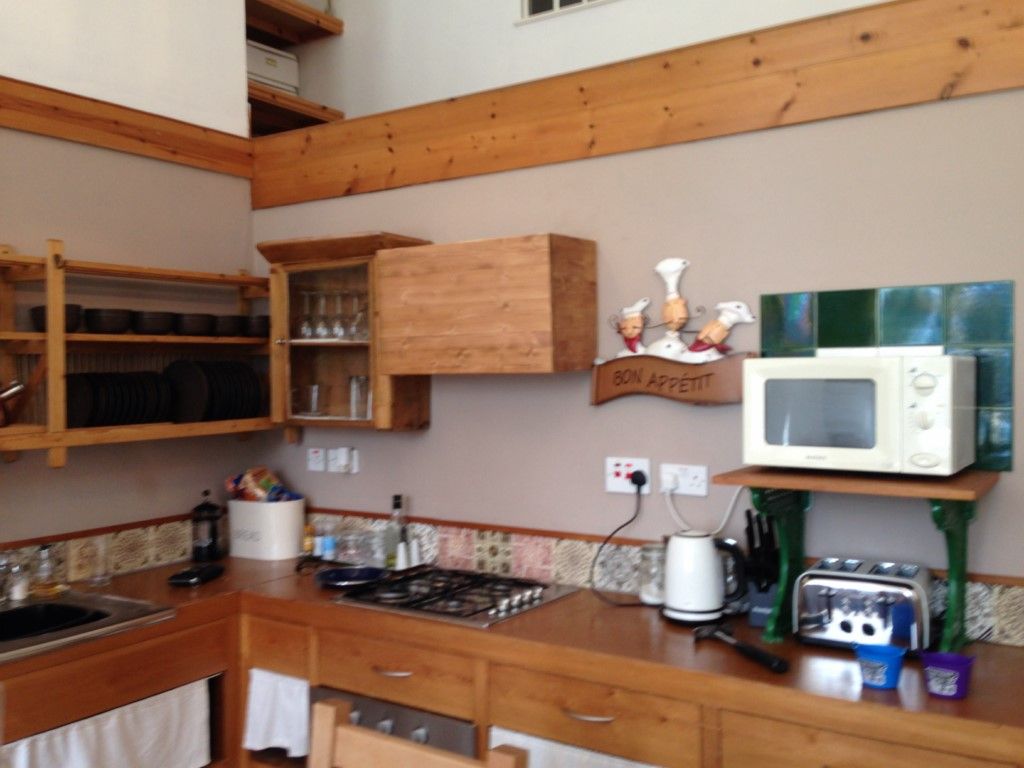
I must admit getting the mortgage money out of Steve was slightly easier than getting him to cough up to furnish it, but we got there eventually
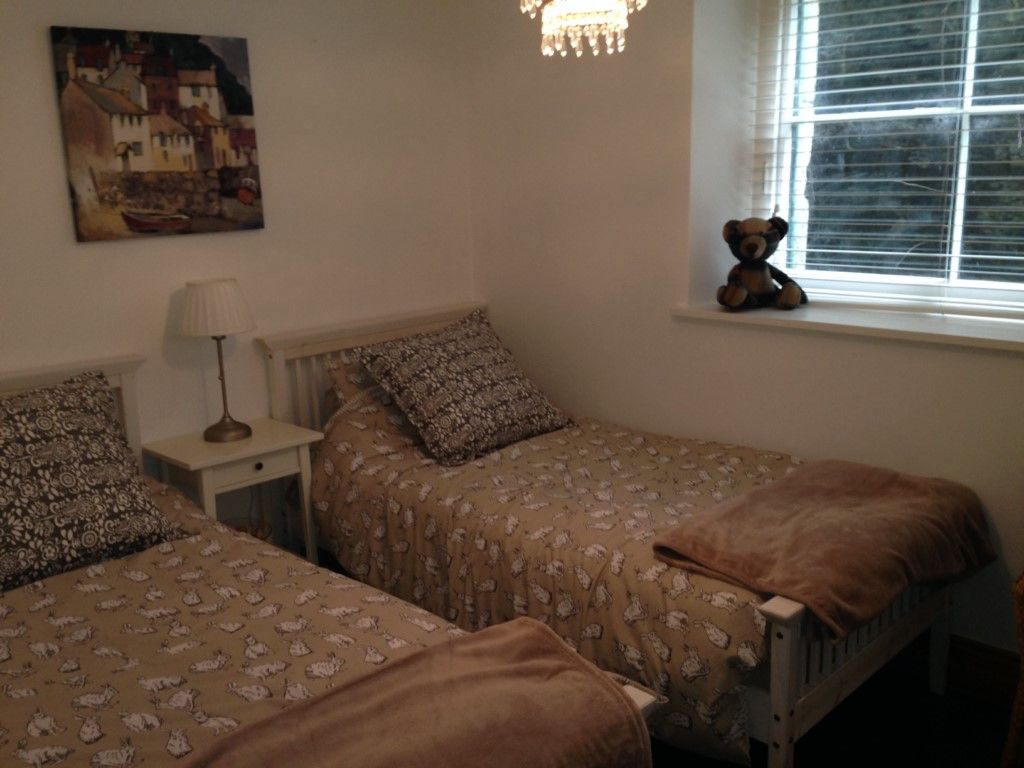
So all a very much new venture for us, but will see how it goes. And of course it does mean I get to stay there when its not booked out :)
We need to add a full staircase, as the ladder wasn't the greatest health & safety idea for a rental. So this is on hold until after the summer season, but hopefully we will get this done before xmas. It then opens up the huge third mezzanine bedroom :)
So all a very new venture....
I have placed a permanent link to this page on the right hand side of the blog :)
Some quick instructions on how to make some hanging tea light holders
Materials needed:
Small Jars (Jam, kilner, anything will do that you can fit a tea light through the neck)
Twine
Sharpies in your preferred colours
Elastic Bands
Method
Simply draw any design onto the glass jar. The sharpies are permanent and dry instantly, so no smudging etc. If you use a black and more bold design it will reflect through the glass onto the wall.
Mine are just random 5 minute dabblings of nothing much in particular, but they look ok from a distance...!
The twine holder is easy, and just involves 4 strands of twine, cut then knotted evenly around the jar. There are more intricate macrame holders on you tube etc, but I was quite happy with basics, and used the instructions in this link:
It was made in the same way as we created a gill net at the Wilderness Gathering. I have yet to utilise this skill for catching sticklebacks though
The only other comment I would make is don't be alarmed when you light them - the twine sparks and instantly goes out, but frightens the life out of you (I thought it was the quickest making and destruction of a DIY project yet). Pull the twine away when you light the candle!
Following on from a comment on this blog, that I found the Lotus Belle Tents, 'a bit ugly', it started some correspondence with Hari from Lotus Belles.
After a few emails back and forth, Hari offered to lend a Lotus Belle so I could try it 'in the flesh'. So a quick dash to Bristol, I had visions of meeting Hari, with the exotic name, and an image of a Somalian Eastern exotic women sitting in zen gardens and meditating.
I rolled up to Hari's (which I later found out was short for Harriet), amidst total chaos, as 10 lotus belles had just been returned and dumped on her, after being hired out at Glastonbury. An hour of locating all the bits (and the dog, the phone charger, the phone, the handbag..) and we almost had a full set....
So a quick detour home via Hari's warehouse and I had a 5m Lotus Belle. I think. So the tape measure came out, and in my neuroticness, I measured every part, rather than pitch up with a jumble of maybe matches. It was all fine, see I knew Hari knew what she was doing really... (Hari is lovely, I want to adopt her)
As this was a rental tent, the poles were already threaded into the wall panels, and the guys were already tied. The wall section was stored in a separate banana bag, so it didn't have to be threaded together each time you used it. In the other bag I had the groundsheet, 3m wooden pole, 30 marquee type heavy duty pegs, the cream canvas roof. Plus an octopus. And a toadstool head.
Banana Bag for the wall
I had 10 days at Nantcol Waterfalls booked, so I packed the trailer, along with the lotus belle, a dragon, a tree, and some christmas goblins, and set off.
Arrived at the campsite with some pretty strong winds, so was fairly dubious having never pitched the lotus before. Thankfully, it's pretty sturdy even during pitching, so it holds itself in shape as you go along. It's also remarkably easier than it appears, to both put up and take down. An absolute must for me is that it can be done by a solo person as well.
Spacing the pegs
Firstly pegging out the groundsheet. Once done, you them measure out the placement of the pegs for the roof and wall. After watching a video, I put the furthest peg about 1m out - this wasn't enough, and I had to redo the outer ones (the video was based on a 4m pitch) as I went along.
Once pegged, you simply go round each section of the wall and clip the 10 poles to the groundsheet - the guys then hold each section as you go along.
At this stage the tent is remarkably sturdy, and held up well despite the winds. Next you locate the 'Lotus Belle' Logo on the roof 'tenatacles', guy out the first two by the door, then just move around the tent and guy the rest of his 'legs'. There is a velcro strip that then joins the roof panels to the top of the wall. A layer of mesh either side of the velcro gives the tent flexibility in the wind
Ready to add the centre pole
Once the roof is sitting happily, it was a good time to go in and lay the carpet down (the carpet was mine, but hopefully Hari will get something on the market in the future). Final part is to just slide in the 3m pole, placing it in the centre on the wooden cup. This part is actually a lot easier than a standard bell, as you don't have the huge canvas resistance pushing it up.
Carpet laid
Centre pole in
Total pitching was about 45-60 mins as this was the first time I had ever attempted it - It also involved me moving the pegs out as I had misjudged them, and re-tying quite a few of the guy ropes. I'm pretty confident I could cut this down to 30 minutes solo, in future.
With solo camping the hardest bit is lugging the bags around - but everything can be split down, even the wall (but i would prefer to keep this intact with the poles). Total weight on the 5m is around 66kg, the 4m is about 55kg
Pitched!
The only remaining job was to 'pimp' up the inside. So armed with my dragon, a tree, and a few flowers, I got to work creating my temporary home for 10 days.
Ready to move in
By day 3 there was heavy rain forecast, so it seemed an ideal time to try out the 'octopus'. This was a poly hat that sits on top of the canvas roof. Exactly the same shape, you simply drop the centre pole, throw his suckery legs over the top and peg it on the existing pegs. The bonus of the poly top is that there is no leakage at all, and it also keeps the canvas dry - invaluable on a wet take down. The green octopus also gives a nice pattern to the ceiling
Pack size of the poly hat is small. Shown here alongside Sid the Squid
The Octopus
The Pattern is diffused through the canvas roof
The tent had no issues at all with waterfastness (the upright walls prevent any leakage through the sides). And although the groundsheet is a PIG (peg in) it is bath tub shaped at the bottom, so there is a 2 inch curve upwards, so no water puddled in. Hari did mention that the tents had been professionally cleaned, but wasn't 100% happy about whether the waterproofing had been affected, so it made sense to try the poly cover (obviously a new tent will have no issues, regardless of whether you use an additional poly cover).
Day 7, the octopus was set free, and the red toadstool roof had a play
The red hat gives off more of a warm orange tint
It is a crowd stopper - After having bell tents for over 5 years now, I no longer have queues of people waiting for a guided tour, as they are on every campsite you visit. So it was quite nice to have something a bit more unique, that had the visitors peering around the doors again.
It seems to have converted a lot of 'on the fence' people, who initially weren't sure about the tent (including me). It also impressed the campsite owner, who is contemplating getting a couple to set up permanently onsite.
In summary
Overall there isn't much I can say about any faults. The weather threw everything at us, torrential rain, 40mph gusts, and blazing sun - the belle flicked it all off as nonentities. It was rock solid, with no billowing of the canvas in winds, and secure and watertight throughout.
I was planning to say the groundsheet is a PIG so would put some people off, but now there is a velcro version....and mesh doors would be useful.....but there is this option...so just to find something picky, and not give it 11/10 I will say its heavy....(but no more so than my 6m canvas and cast bell....)
Also there is now a porch available for the entrance, which would enhance the space even more
Obviously the costs are a lot higher than a standard bell, but the quality and extras do justify it. It is a one off purchase, and will last for years. My Canvas and Cast 6m bell cost just short of £1k - this is from the same manufacturer, so quality is excellent, on both fittings and canvas. It is very much you get what you pay for.
So, having had the trial, will I purchase a Lotus Belle?.....I think I need to have some serious talks with Hari.... :)
Features:-
Thick guy ropes and wooden sliders
Marquee heavy duty pegs
Thick breathable canvas (the suppliers are the same manufacturers as Canvas and Cast tents)
There are two large windows which puts the tent ahead of a standard bell. These windows also have the option of the clear plastic, or unzip to allow the breeze to go through
Half moon window, with access to a pre-fitted flue hole. Nicely positioned, and suitable for a side wall entry wood stove
Lotus Belle Specification/Blurb
The larger Lotus Belle tent. This 5 metre version is 56% larger than the 4 metre version and can be used in a wide range of scenarios.
Original model tents are perfect for the UK climate, with 2 easy-clean, fully openable PVC windows, they offer the perfect balance of being able to look outside and keep dry on wet summer days, and open up to create a through draft when it gets a little warmer.
360gsm Cream canvas
5 metre diameter at the base
5.5 metres diameter at waist height
3.2 metre centre pole
8m pitching area
5'8" high at the edge of the tent, meaning the whole floor space is usable standing height for most people.