Painting Canvas Tents
A few people have asked, so this is how I do it!
I have never attempted a poly tent so not sure how the paint would work and what effect it would have on the waterproofing, but you could always try with a test?
Inspiration
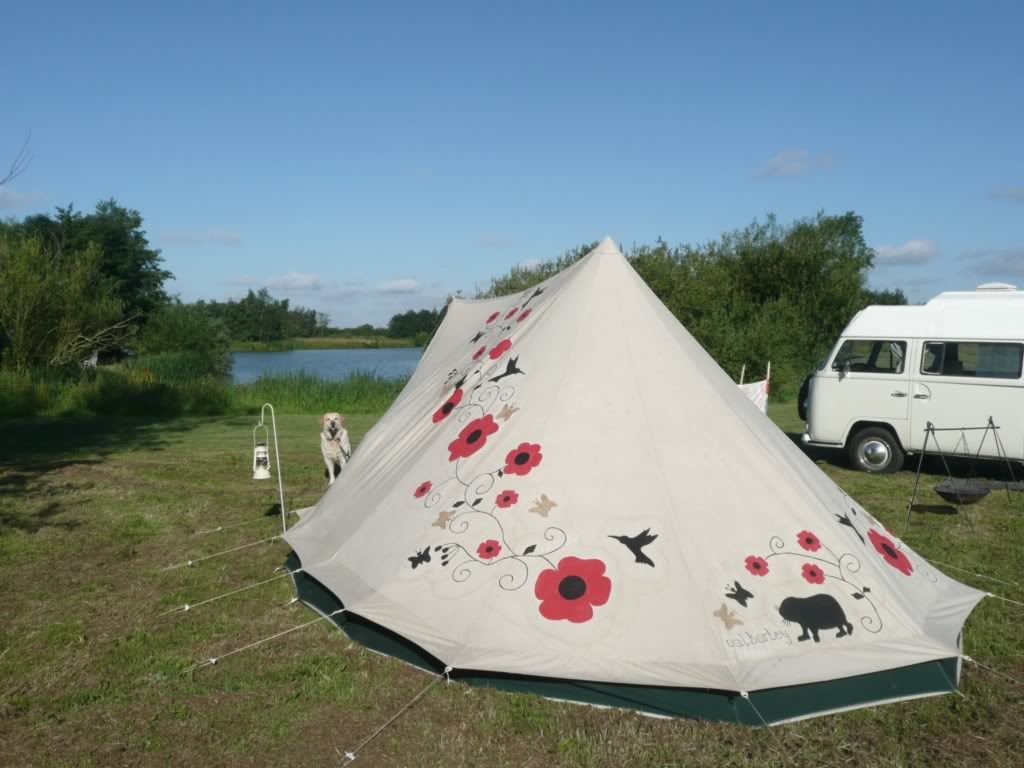
Nature themes and flowers always look good. Alternatively cartoon characters, films etc are good for ideas. Or a nice cushion/throw/painting can just give you some nice colourways and shapes. Don't go for anything too intricate or shaded, block colours are a lot easier to do
Try a test paint before braving the main canvas - most of mine have a peg or the tent bag is the same material, so have a play on this first
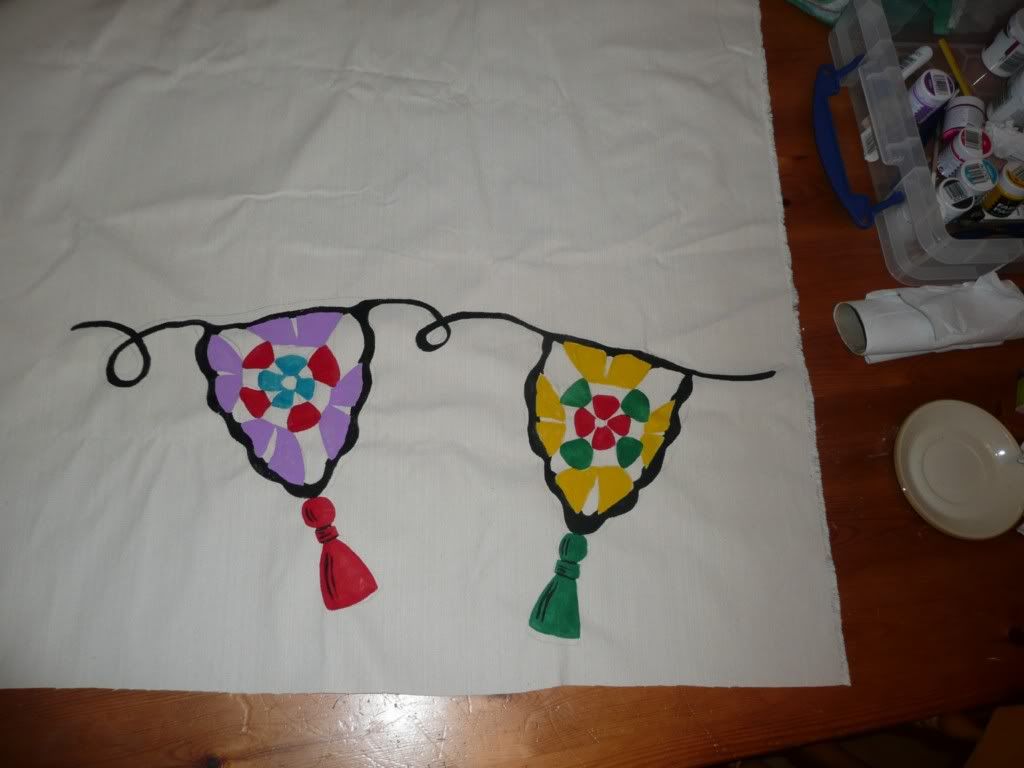
If you're not feeling too brave try a tarp edging before letting loose on the main tent
Maybe a bunting design?
I had to try and match the tarp to a few different tents though....!
Materials:
Dylon Fabric Paints - Varies from £1.60 (dunelm) to over £2 (hobbycraft etc) a pot. Available in colours for dark material and light. I tend to use the yellow dark canvas paint even on the lighter canvas, as the light one is a bit 'wishy washy'. All the colours are easily mixed together, so no limitations!
Cheap Paintbrushes - I never used anything special and the paint washes off using normal water. Get a few sizes - including a big chunky for filling in large areas and a very small fine one for the details. You can get fabric markers to do small bits like eyes etc, but I found the colour on these looked a bit weak compared to the rest of the paint, so i just use the paint now.
Fabsil - I was advised that the standard one would be best, rather than the the GOLD
Prepping
Other than getting any dirty marks off (don't use any detergents! Brush off mud, or just use water) there isn't anything to do before applying the paint.
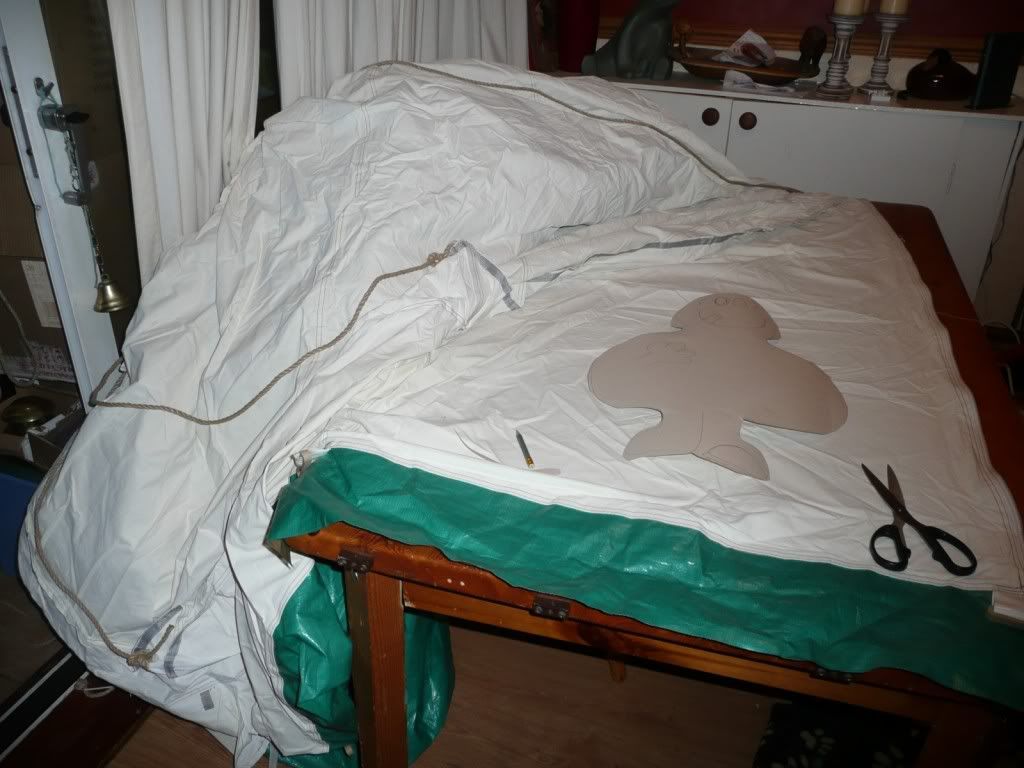
Once I decide what it is I want to paint, I tend to make outline templates using a roll of wallpaper lining paper (about £2 from B & Q/DIY Stores), more for positioning and size. i.e. just the Mr Men shape, cheshire cat etc body.
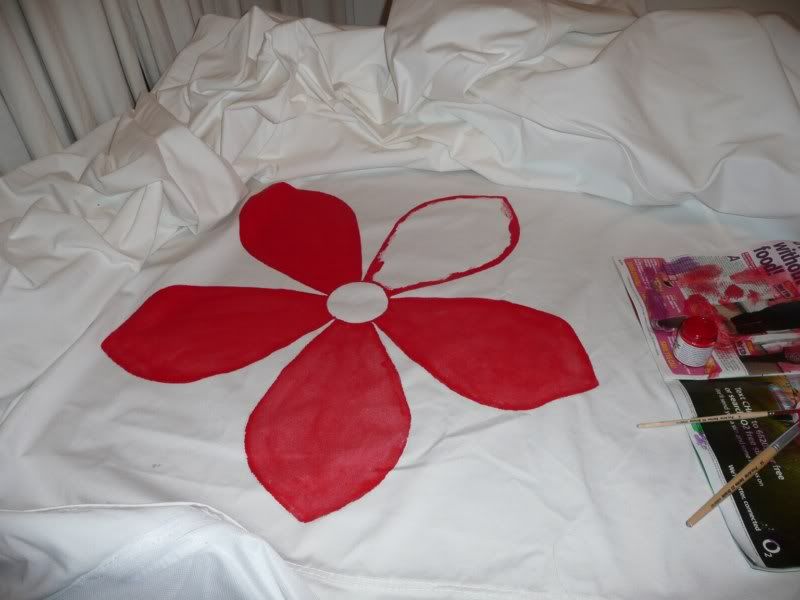
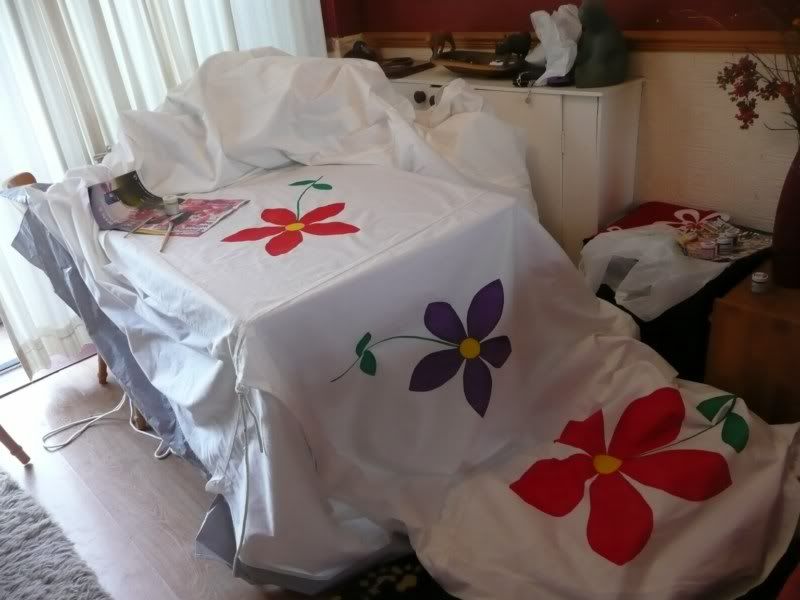
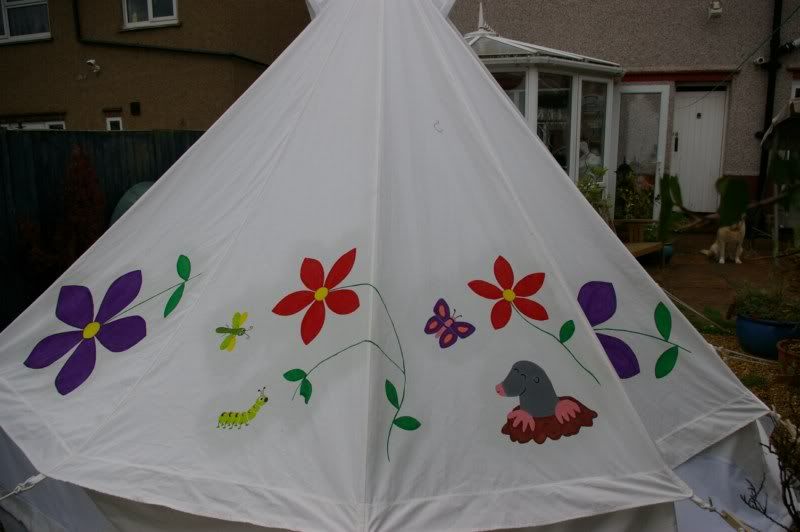
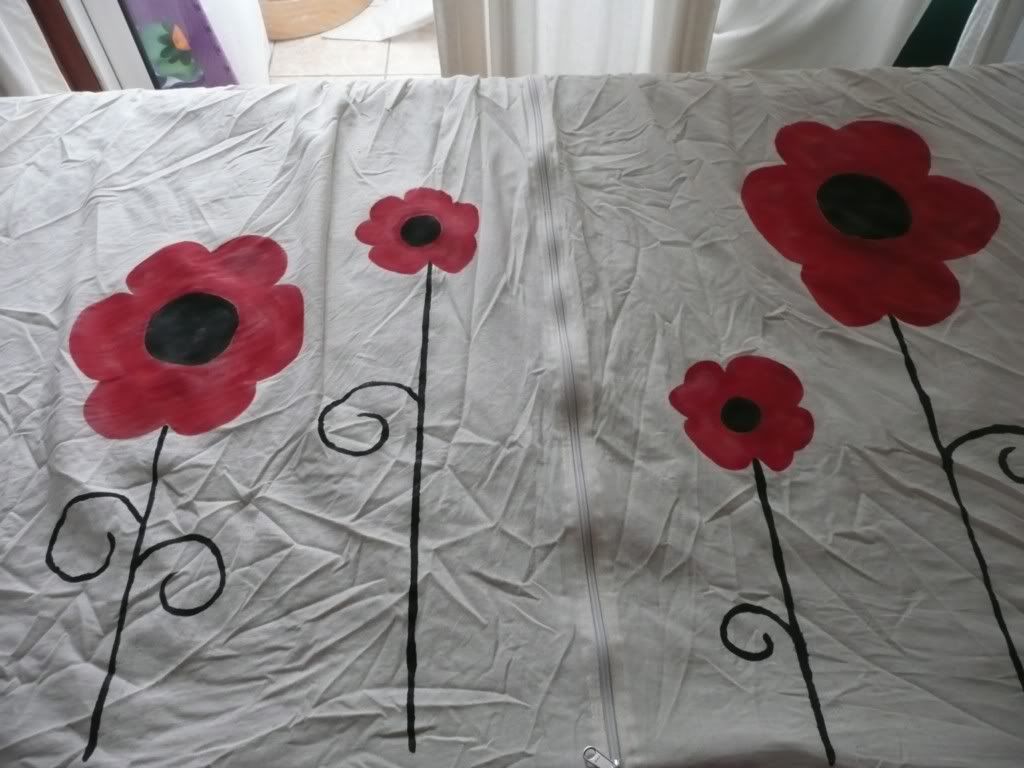
To make simple daisy designs just cut out one petal. Draw round a tin of baked beans to make the centre, then just arrange the petal evenly round the centre.
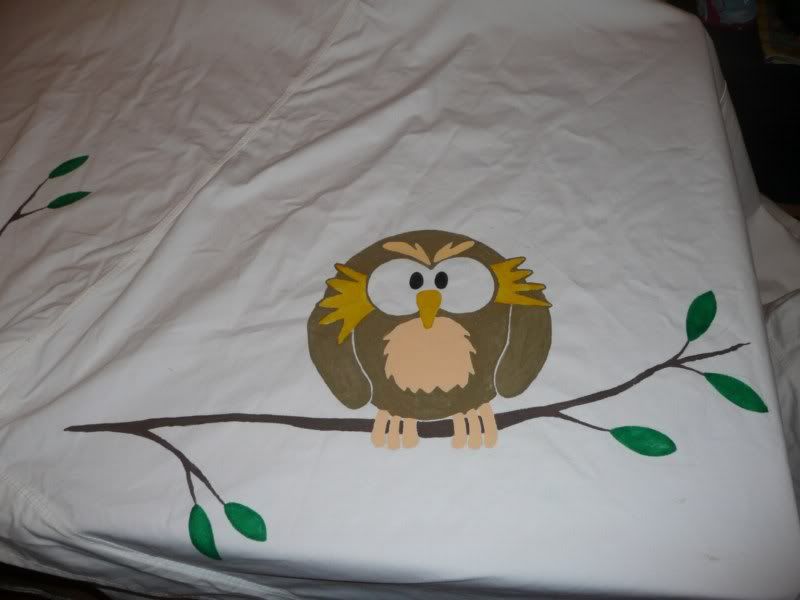
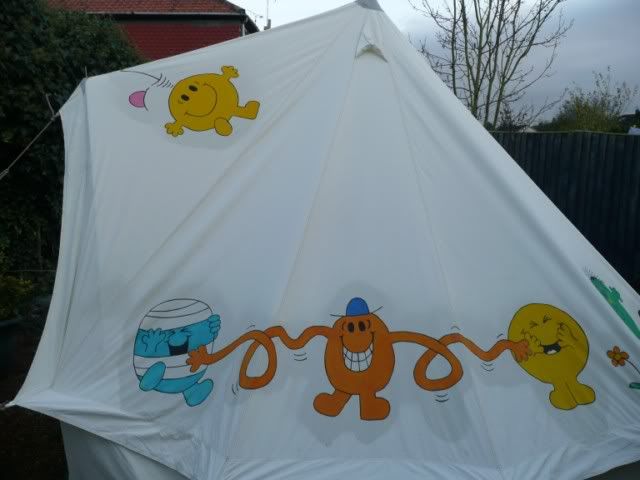
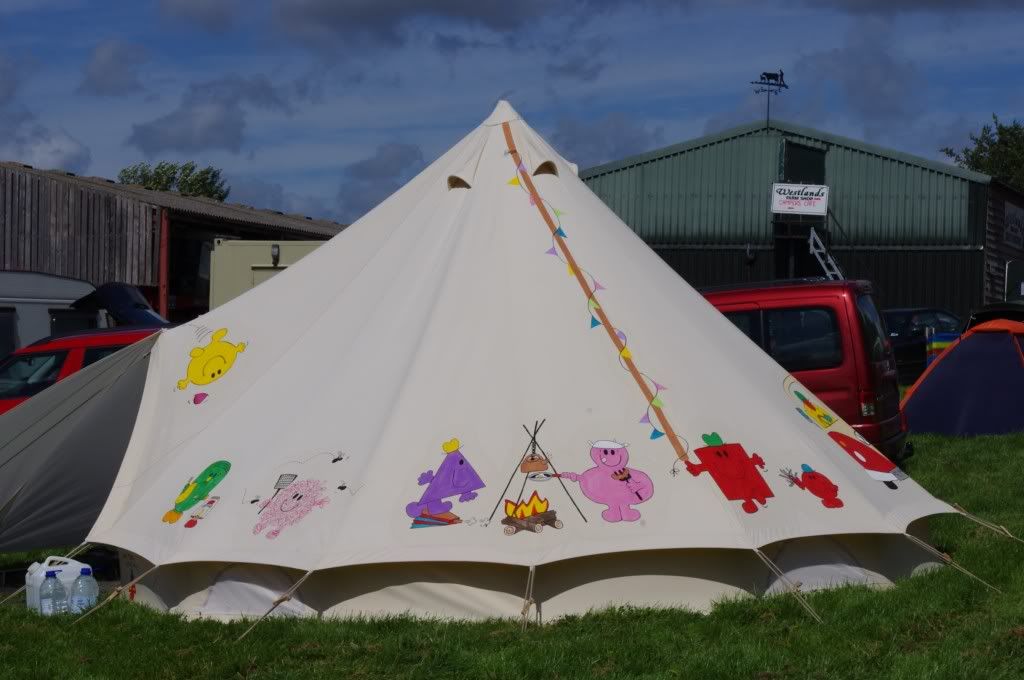
On the bell the panels above the door are at odd angles - any design you do, work out how where it will actually end up being placed! - my owl is falling off his perch a bit and mr bounce didn't quite bounce the angle i though he would!
I then free hand paint the details. I use a
quilting pencil to draw around the template outline, and also for the design on the canvas. This rubs off with a decent eraser once the painting has dried.
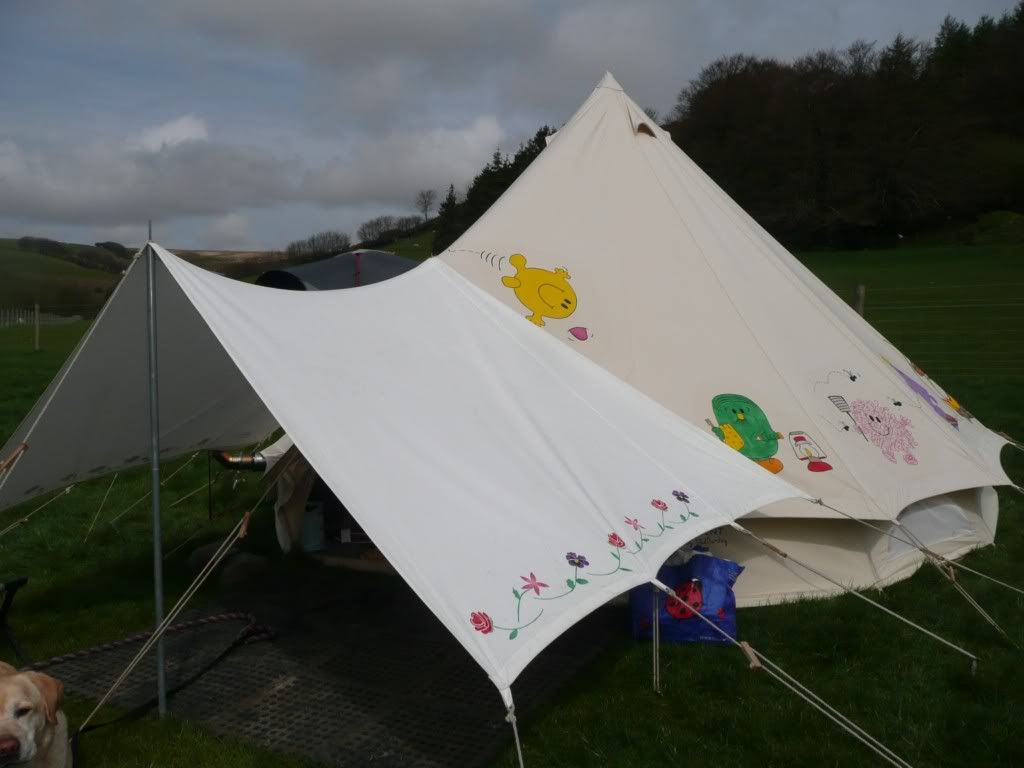
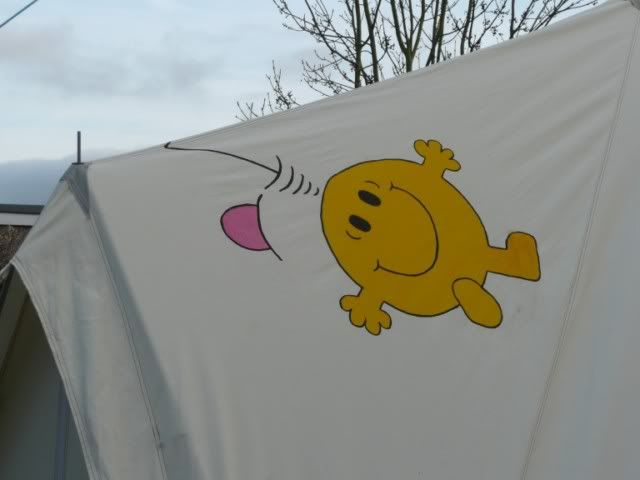
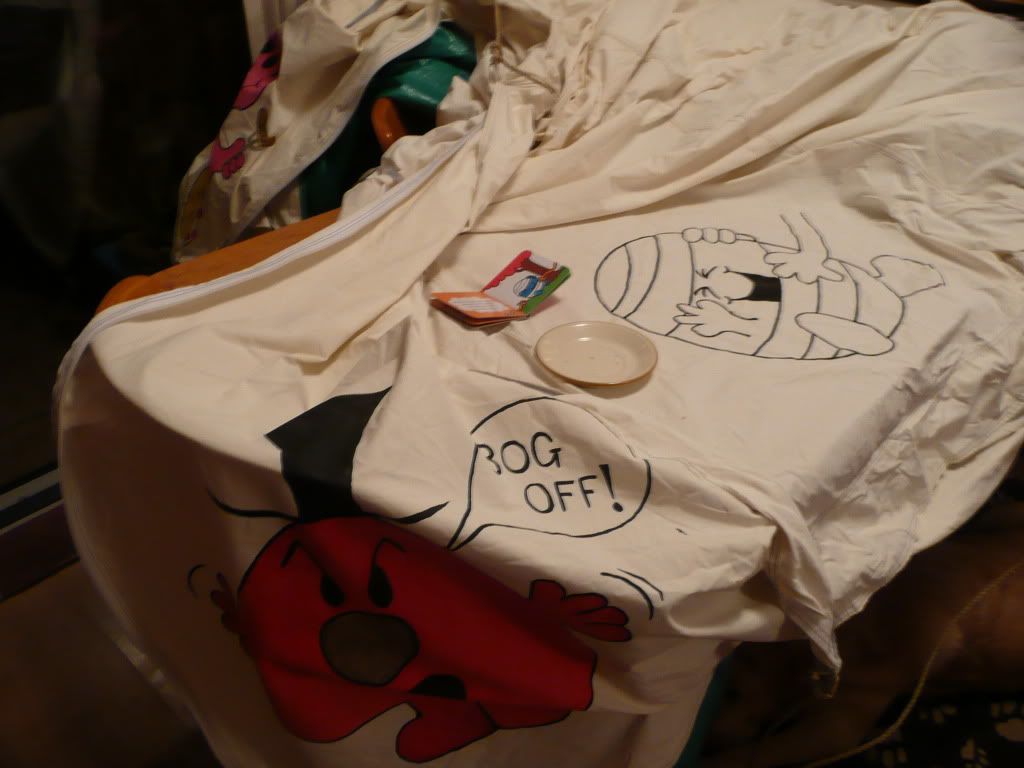
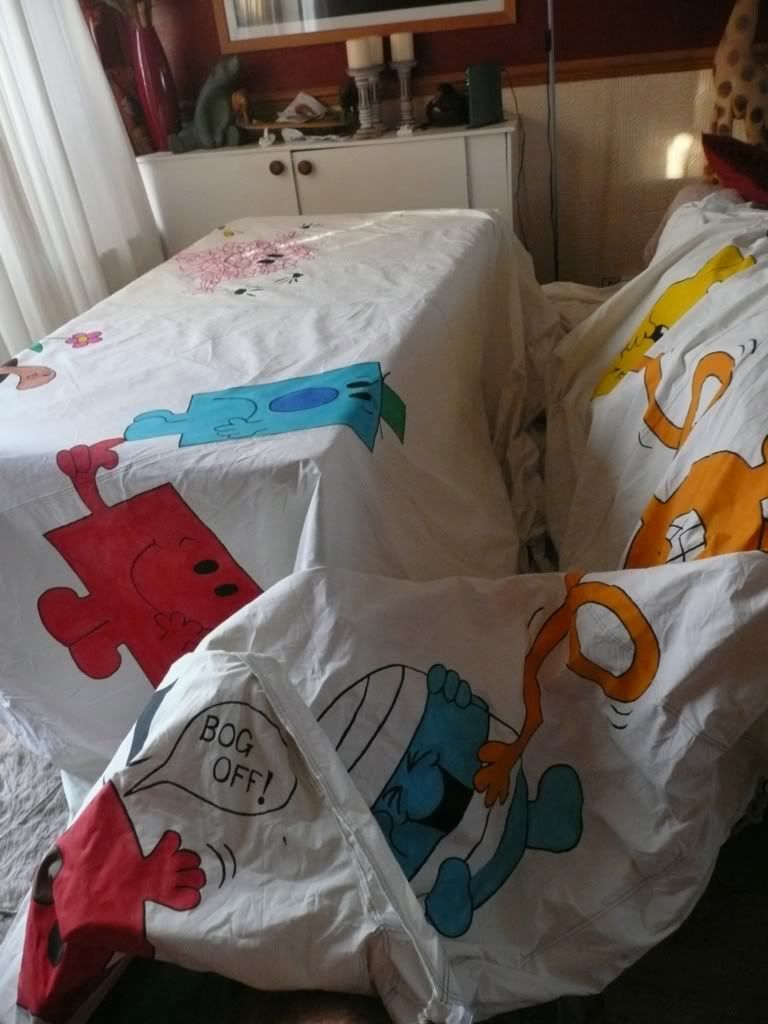
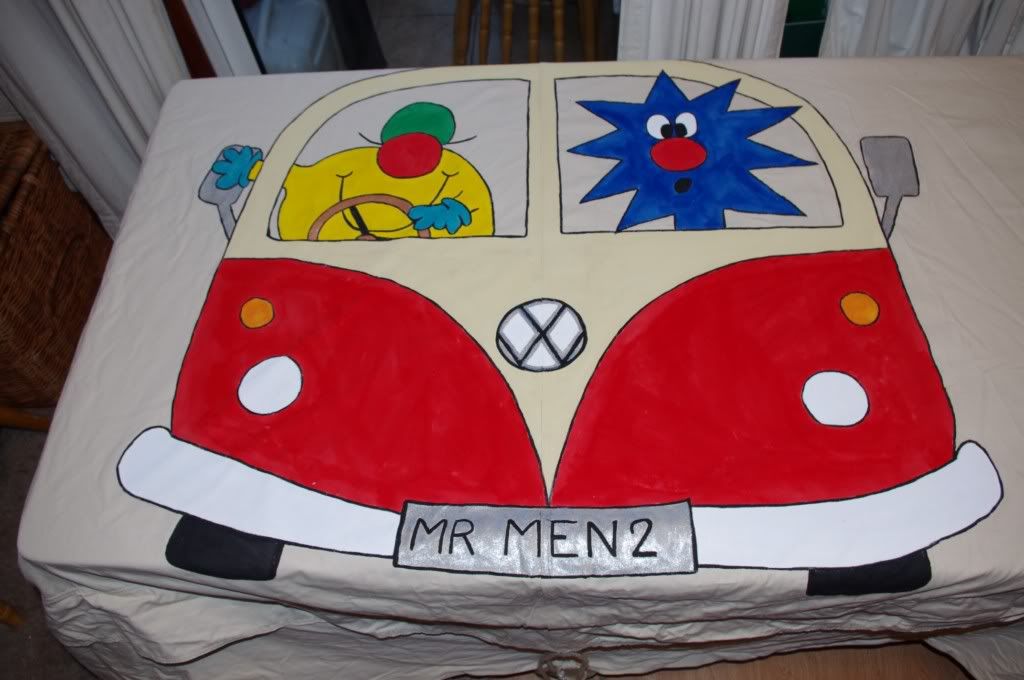
The Mr Men Tent was one of the easiest as all the characters are outlined in black paint - is just like a colouring book once you had this
Poisitioning the canvas can be a pain with a built in sig - I struggled with the Mr Men tent. I did try and sort of pitch the table inside it but gave up. I just put paper between the canvas and groundsheet in the end and painted over the 2 layers. No SIG is bulky but easy enough to manipulate
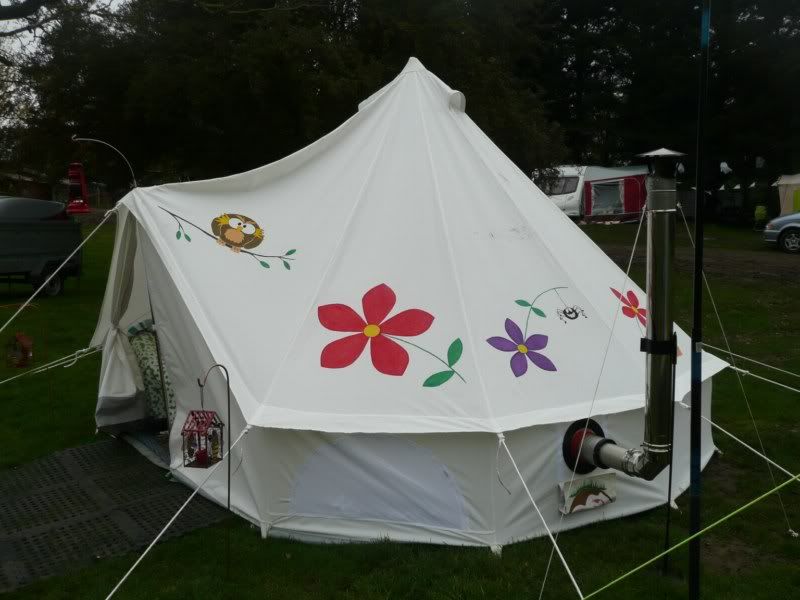
Use the design to your advantage! If you have any dirty marks you can cover them with paint (as long as the paint adheres if it's grease etc), alternatively I made a feature of the hole for the stove opening
Drying
Allow each panel to dry overnight before moving the canvas for the next bit - this can be a bit frustrating as I like to plough on! I can usually paint a panel in about an hour depending on what the design is.
Finishing
Let it dry for a couple of days
Using a hot iron and a thin piece of cotton fabric (I used an old shirt), place the cotton on the painting and press over the designs - make sure the paint is thoroughly dry or it will stick to the iron!!
It's probably easiest to finish off with the waterproofing with the tent pitched - give it a good soaking with fabsil over any painted parts (use one of little garden water spray things)
If in any doubt, leave it pitched till it gets soaked - any leaks just fabsil again when it is dry (i had a couple of drips with my 'yellow' on the mr men but they were fine with another coating of fabsil)
Let it dry and pack it up ready to scare the rest of the campsite!
Yes the paint is permanent!!
Do test to make sure it is all waterproof!!
It's not as daunting as it appears, go for it, the first splodge on the canvas is the worst!!
Mr Men 2 in action at Wickham Festival
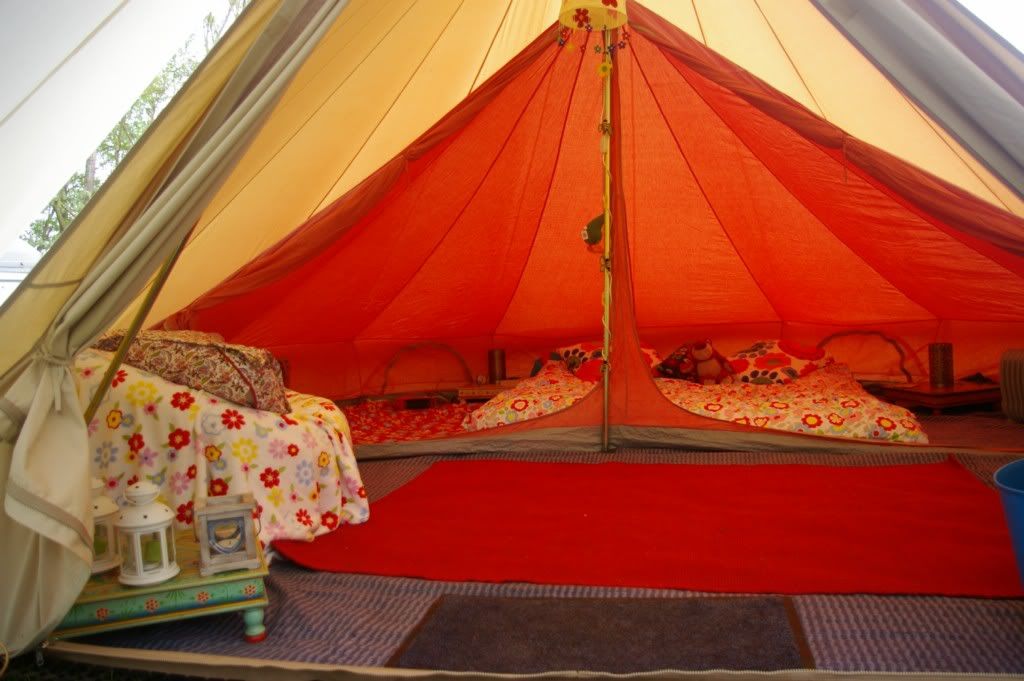
Painting the Inner
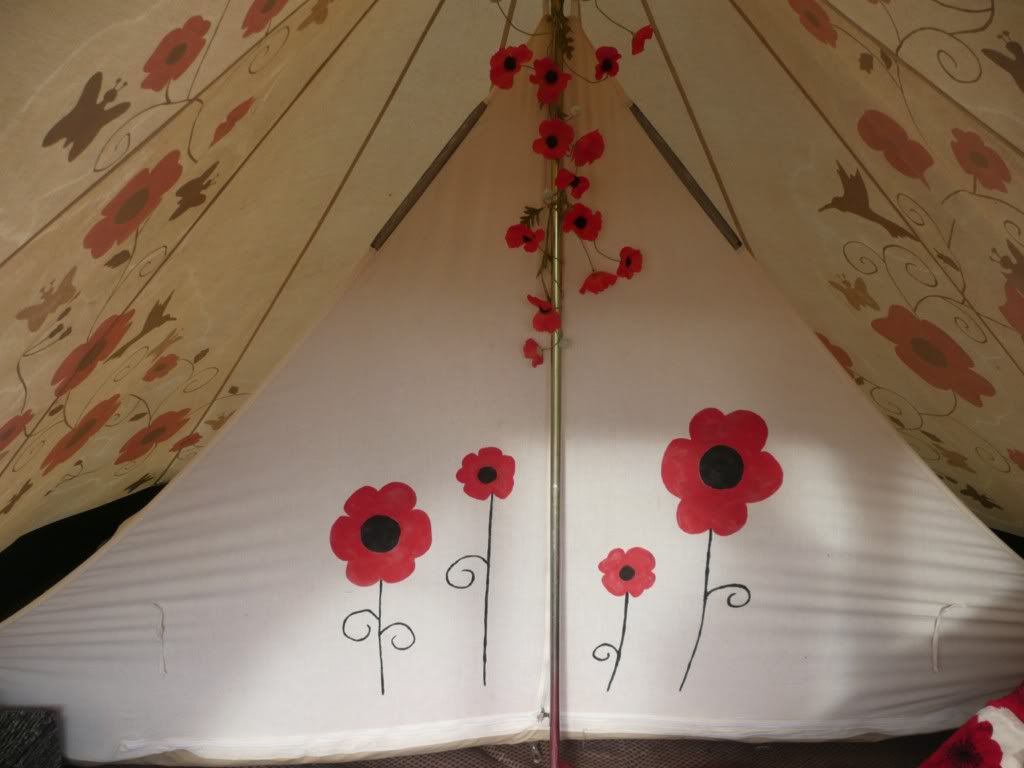
I decided on guinea shit tent (now poppy shit tent) to paint a few flowers on the inner. Done in the same way as the main canvas BUT the material is a lot looser weave - so word of warning, put some lining paper underneath when you start painting as it seeps through!! Easily cleaned of the table though. Let it dry in position over night and then none of the paint will smear over the back
Finally a quick pic of Guinea shite after his 'makeover'!
The painted gruffalo tent is now finished as well! A load of pictures of the work in progress
Link to the blog here, but need to take some pics of it when its pitched still
http://bellsandlabs.blogspot.co.uk/2013/03/toerag-to-gruffatent.html
The Nordisk Alfheim gets a makeover
The latest tent to get the pain treatment, is the Alfheim Tipi. I use this little tent quite a lot, and decided years ago, I wanted to paint flowers around the border.
It went a but further with a wisteria, and somehow a labrador got added, but heres the finished version, pitched and waitiing to be waterproofed
Dyeing a bell Tent
I have only actually dyed small cotton ridge tents, which worked fine, but I haven't actually attempted to dye a bell.
I can understand if one is a bit grubby and mildew, that its worth an attempt to 'camoflage' it.
A few things to consider before doing so are:-
Tie dye is going to be more forgiving than dyeing an entire tent. As fluctuations in colour, streaking etc are going to be less obvious.
If you are going for the full dye, lighter colours are also going to be more forgiving than deep colours
A bell is sometimes coated with a silicon or similar finish, so is actually designed not to absorb liquid, which is what you are actually trying to do!
Try a test dye first - use the tent bag and see how it takes
Choose your dye carefully for your tent - a 100% cotton dye will give a deep colour with standard dyes, but you may have a poly mix. There are poly dyes out there
You are going to need something fairly huge to actually dye it in - a paddling pool is probably the most obvious way to do it.
If it goes wrong and looks a bit smeary at the end, then just paint simple designs on it - insects and flowers can always be dotted anywhere!
Dyeing an inner
This is usually a fairly simple process - follow the guidelines above, but do make sure you check the content. I had mixed results as my cotton worked fine with the red, but my poly mix came out dirty grey knicker colour, instead of a lovely sky blue!